|
Installing
the Main/Mast Beam and notes on the
back web of the back beam |
 |
This is the backbone of the boat. If
this isn't right there is nothing that is right so.... I lofted
and assembled and laminated the bulkhead halves last instalment
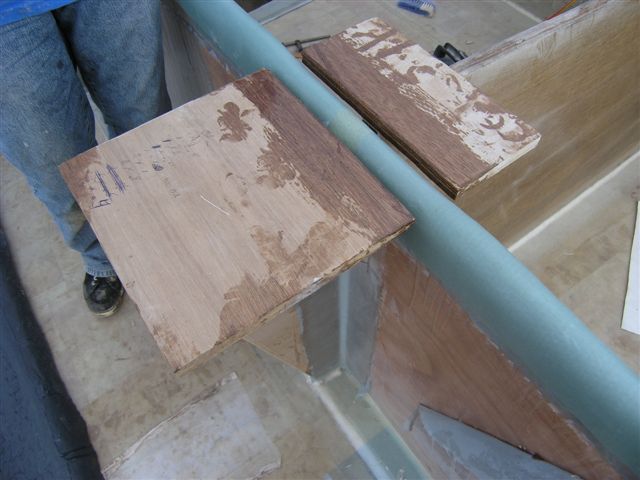
and now to mount. First I checked to make sure the fit was good.
I needed enough room under them for the uni schedule that was
to come and I wanted them to be as close to the hull/shear panels
as possible without actually touching them. I did not want them
to distort the shear line. |
 |
Very little to do... a quick sand on
the centre joint and that was about all. |
 |
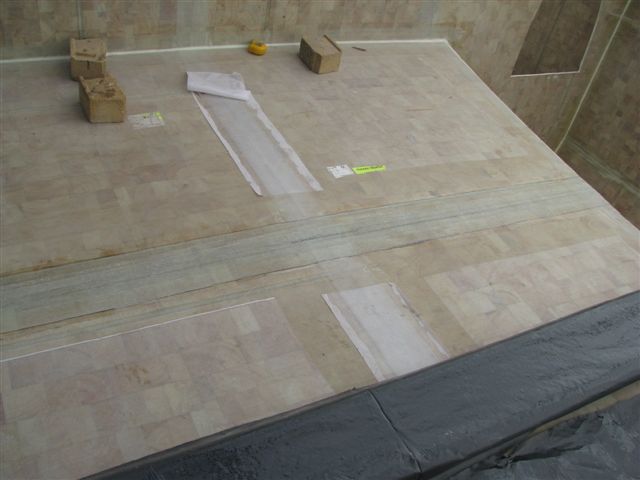
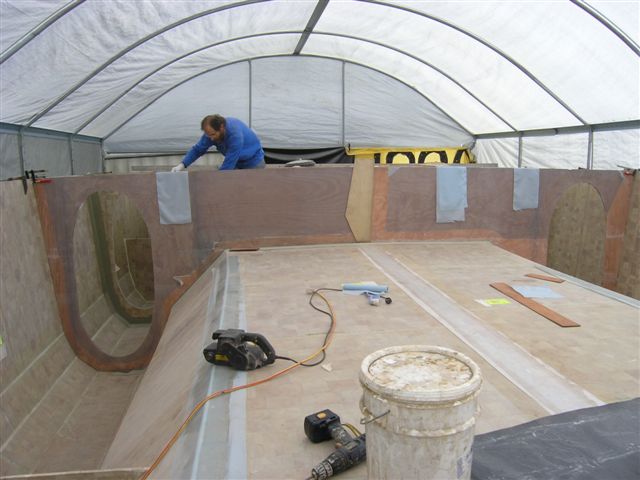
After tracing around the edges of the panels,
I also marked the outside line of the uni. The clamps on the
shear are holding some timbers along the shear to preserve the
fair curve. Thanks to Craig for that tip! |
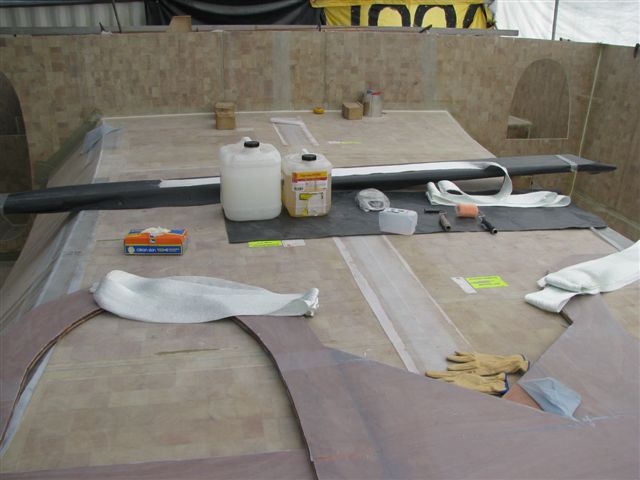 |
Now organise the materials and a wetting
surface. |
 |
The first couple layers I staggered
slightly to spread the load. |
 |
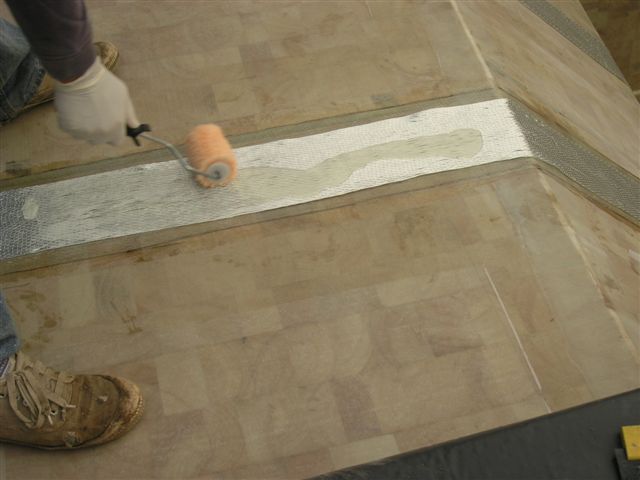
And then go to work.... the first layers
were wetted on the plank but after those I wetted in place. |
 |
The first layers extend down to the
middle of the keel panel and subsequent layers are slightly shorter. |
 |
Working quickly... place the cloth neatly.... |
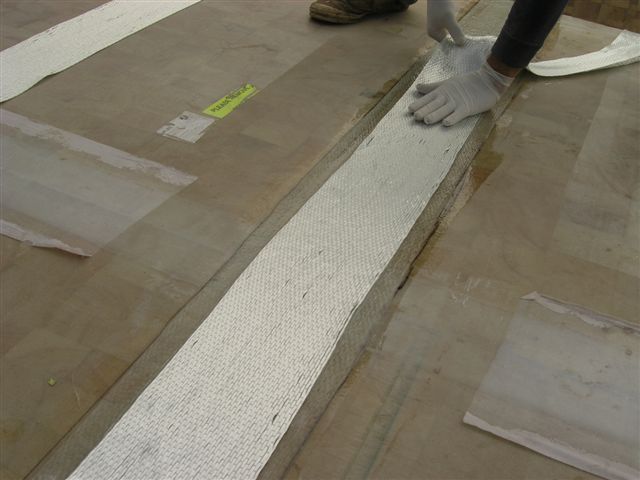 |
as above |
 |
and wet.... |
 |
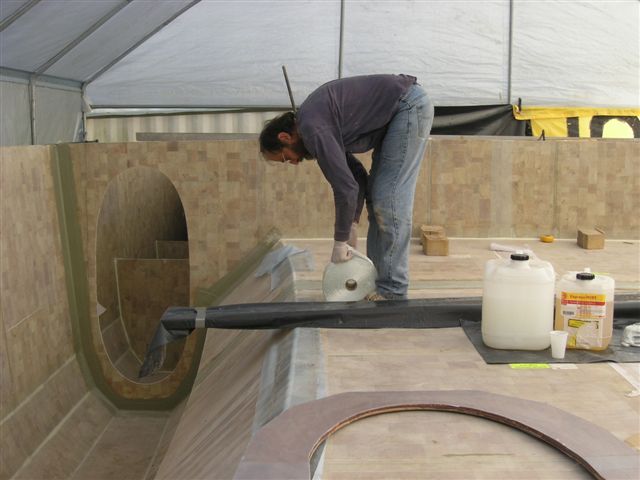
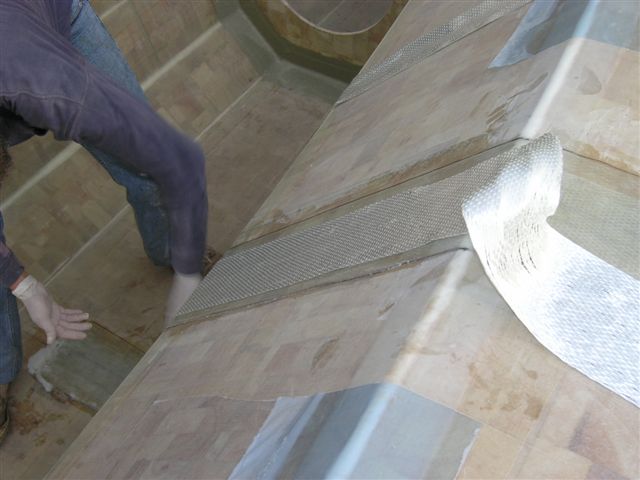
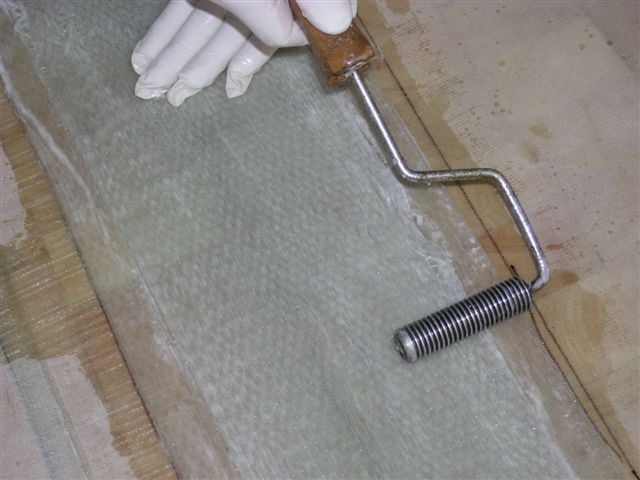
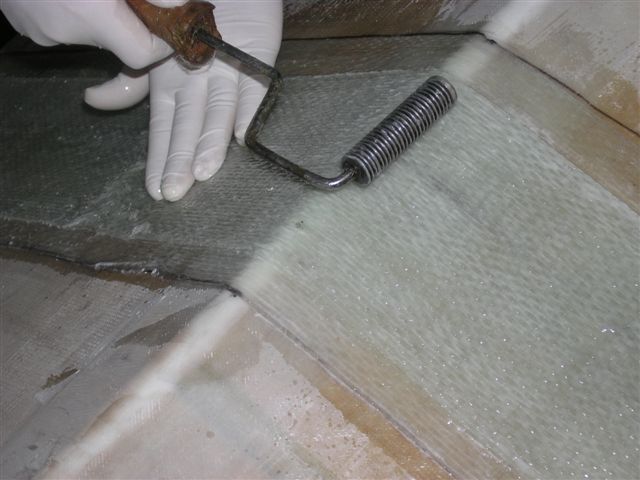
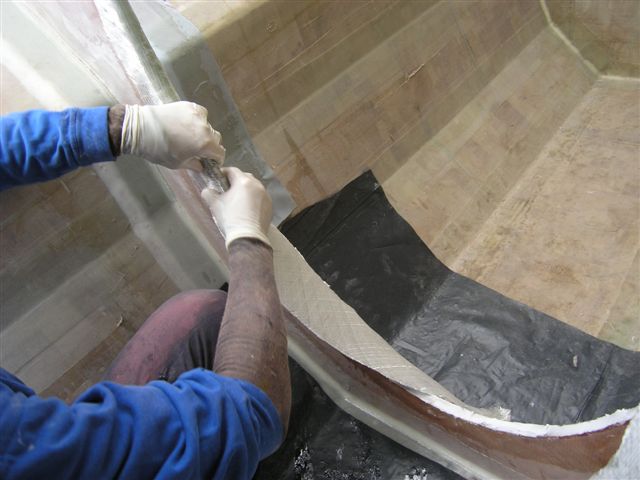
And work the unidirectional tape..!
I started in the centre and worked outwards pulling with one
hand to tighten the strands and consolidating in with the other
hand. |
 |
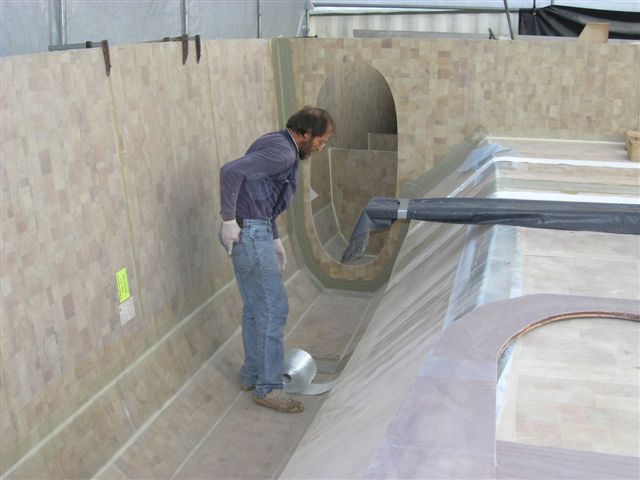
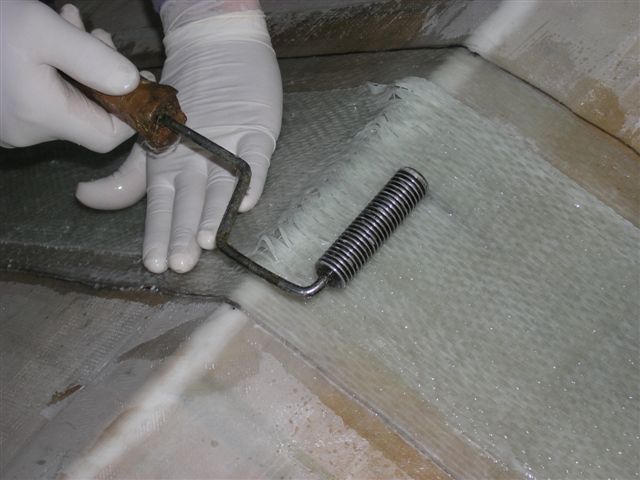
Notice the loops to the right.. |
 |
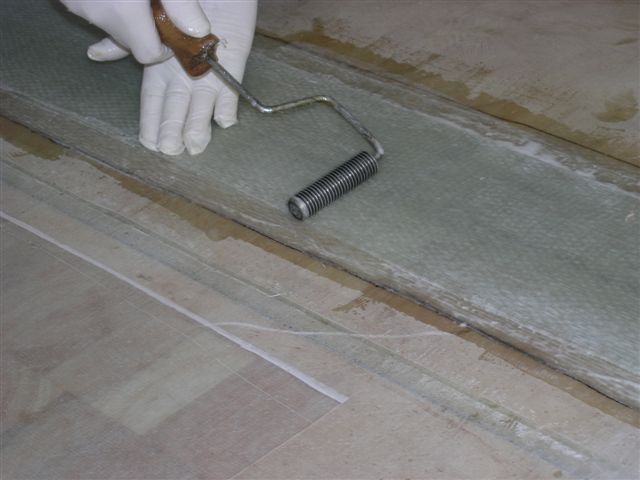
pull with the gloved hand... and bring
the roller back... and I got it. |
 |
all the loose spots I found along the
way piled up on the corner... so same treatment. |
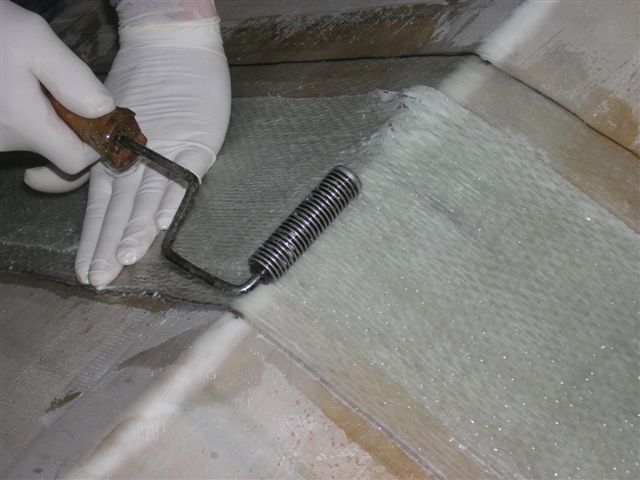 |
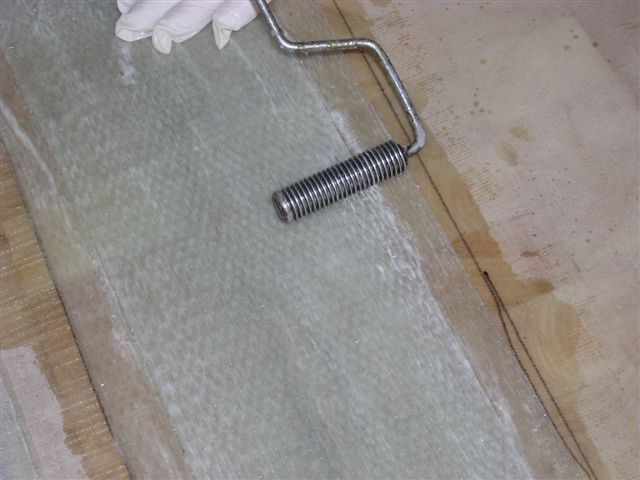
pull and roll.... |
 |
and away they go... |
 |
And more and more... the plans called
for 8 layers of uni and a couple of light DB in between. But
I didn't have enough faith in that and I've seen problems in
these plans before so.... 14 layers all up. |
 |
There is 12 layers of 850 gr X 150mm
uni. The plans call for 8 layers of 1000 gr or 800 gram uni,
depending on which part of the paragraph you read... no kidding.
Thats why I ran heavy... just making sure my total was over the
highest number. But this isn't done yet. |
 |
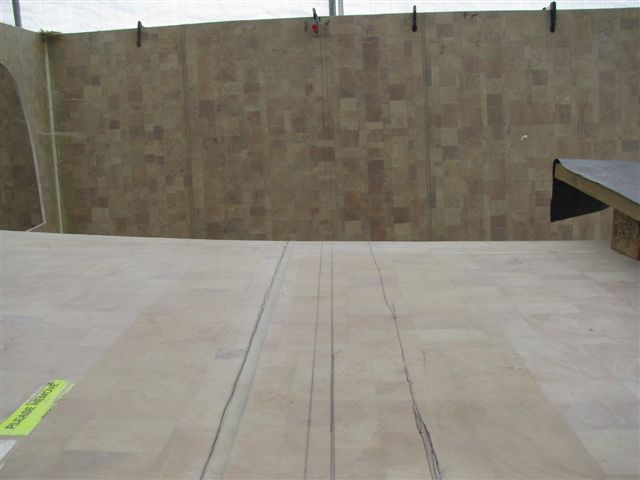
This shows how it was below.. |
 |
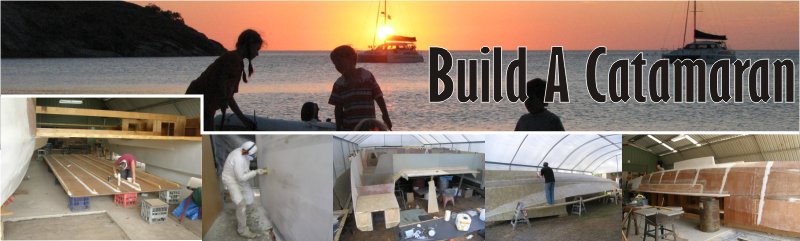
Now fit the bulkhead. The fit was perfect. |
 |
Now organise the taping with the normal
750 tri ax. I had my peel ply set in precut sections as well. |
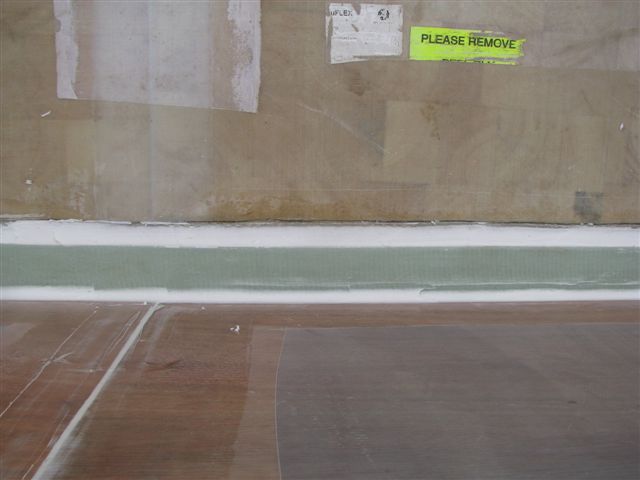 |
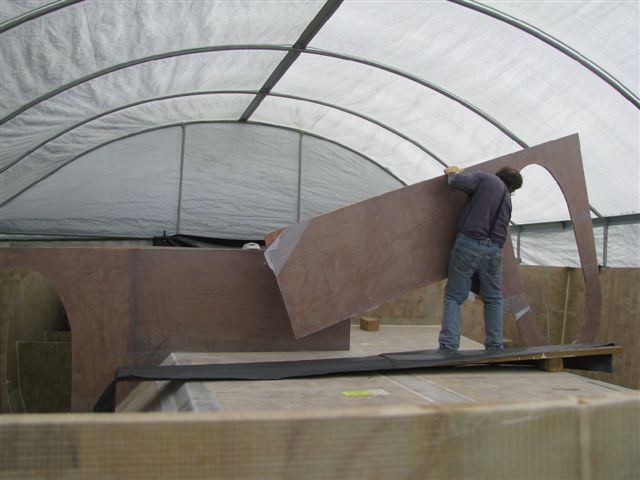
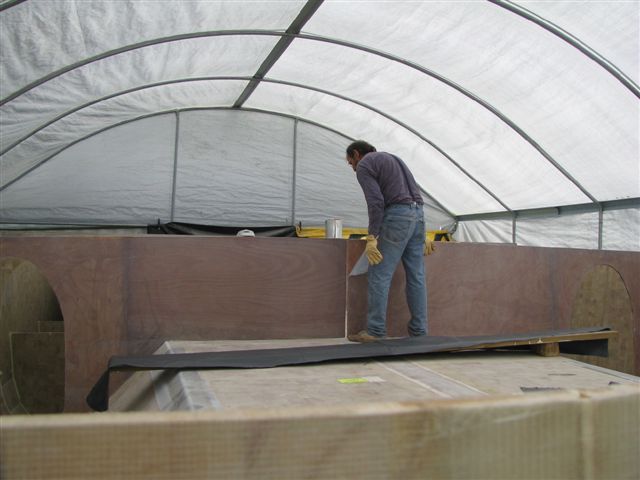
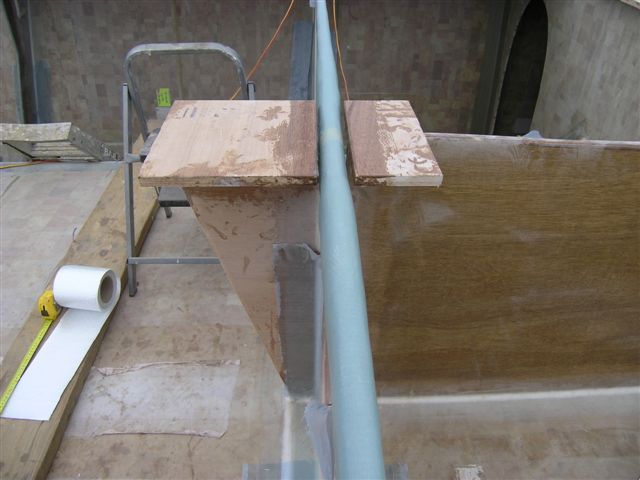
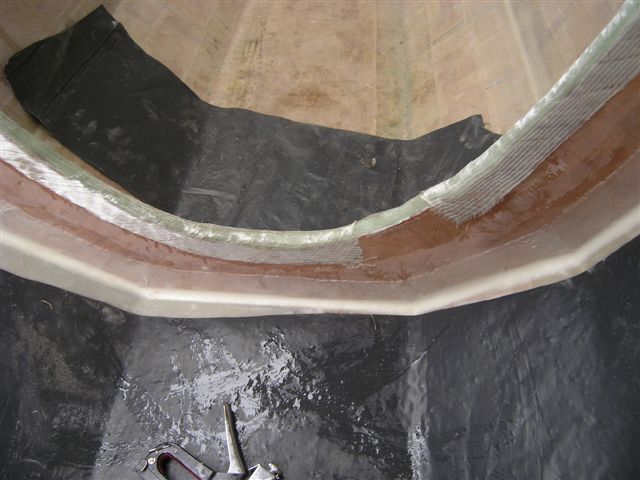
This is looking down at the bridge deck
from the top of the bulkhead. The centre 'seam' is prepared for
taping and I have used the same glue mix, not just Q-cell bogg,
to fillet the joint and the edge of the mound of uni already
in place. I then applied the 750 tri ax tape to each side of
the bulkhead and then on top of that, I wetted a length of uni,
folded in half lengthwise and laid it down on top of what you
see here. So a double layer that buried in the tri ax tape on
top of the uni schedule that was already in place... overkill
anyone? Using the peel ply over all this left a very smooth surface.
Little to do but paint after this. |
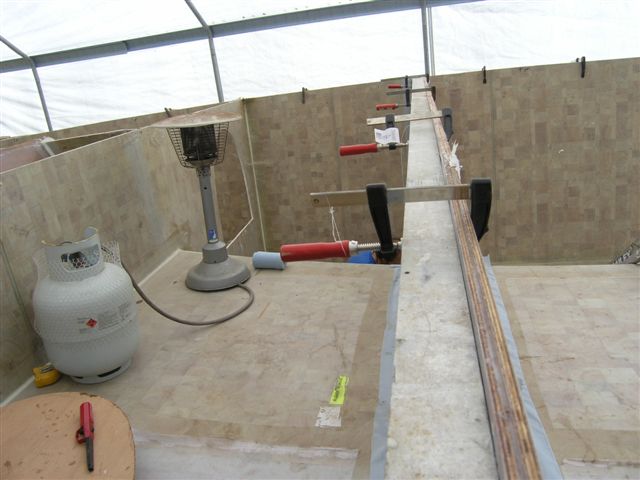 |
Nice to have something to keep the lot
straight. |
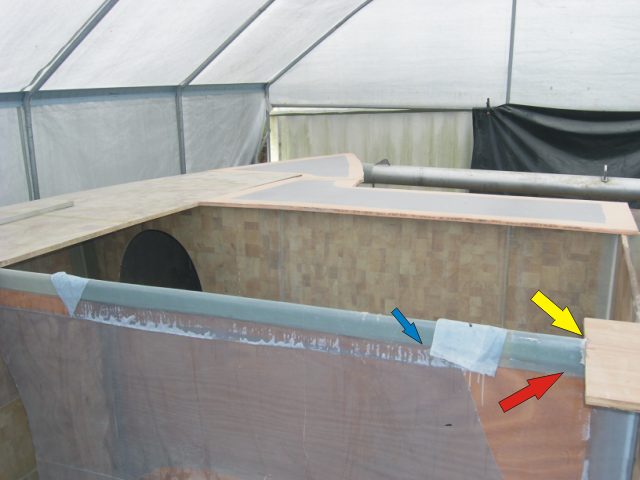 |
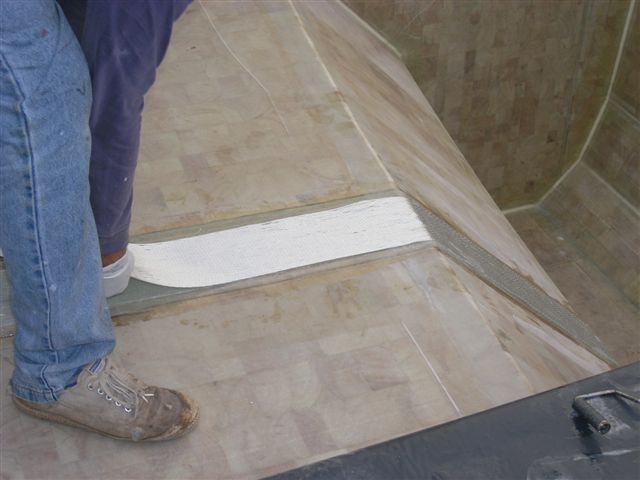
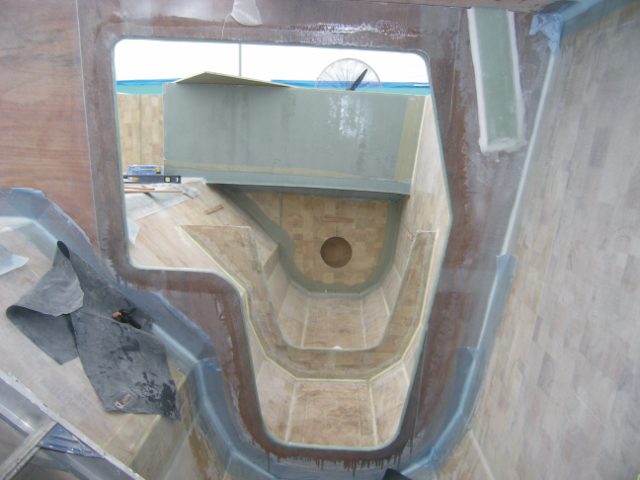
I didn't have photos of the taping
schedule applied to the top of the main beam but suffice to say...
another eight layers of staggered length like that on the under
side. Only difference is that I couldn't wet any of this in place.
I had to wet on my plank and place it. The plans showed conflicting
info on this. The illustrations clearly showed the tape interrupted
in the centre by the platform that is to be part of the mast
step. (yellow arrow)
I felt a little suspicious of this when
I did it so I installed 6 layers under the platform (red arrow)
that I buried into the rest of the tape up to where the blue
arrow is. BTW.. I used 12 layers all up instead of the 8 in the
plans.
This area is supported by other work that
seemed OK but... it was nagging at me. Malcolm Salisbury came
over for a look and he bagged the interruption as a weak spot
right away.... hmmm... |
 |
That did it then.. I cut away some of
the platform and cleaned up the surfaces, and laid in another
12 layers of uni extending from 3.2 metres to just 1 metre to
build up the overall thickness toward the centre. I cut back
some of the old uni near the platform too, to avoid a sharp transition
of strength. |
 |
I went from 40mm on the original thickest
spot to over 55mm in the centre. I feel better! |
 |
Now organising the back web of the back
beam. Not much new here so mention only briefly. It also had
a heavy uni schedule under it and I did it similar to the main
beam.. that is way more than called for. |
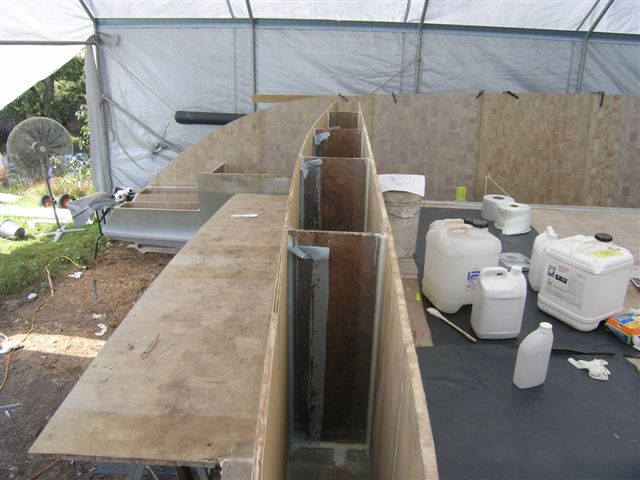 |
On this beam the bulkhead sits on the
edge of the tape instead of centering. |
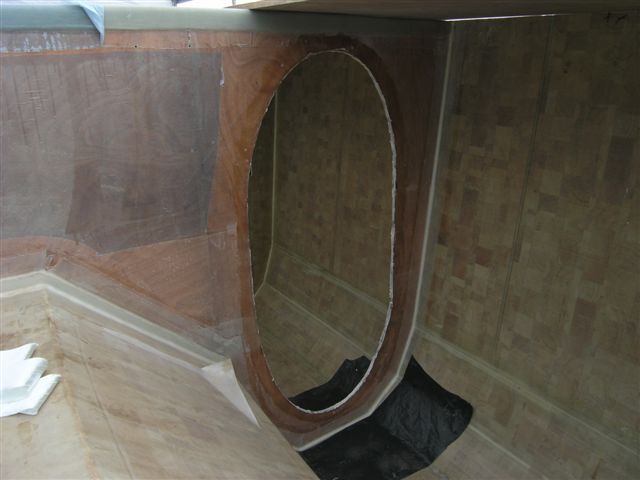 |
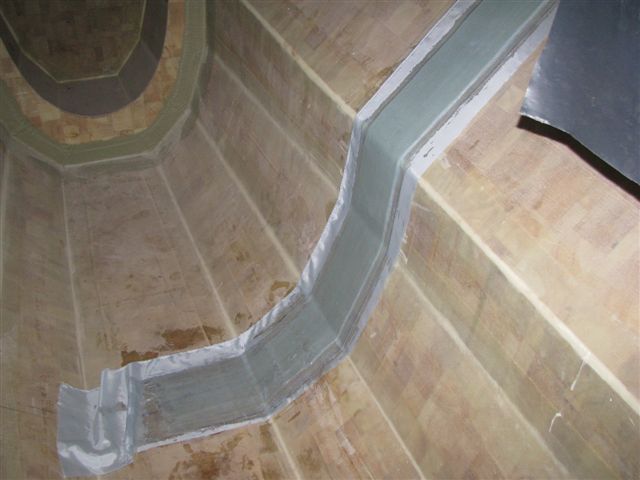
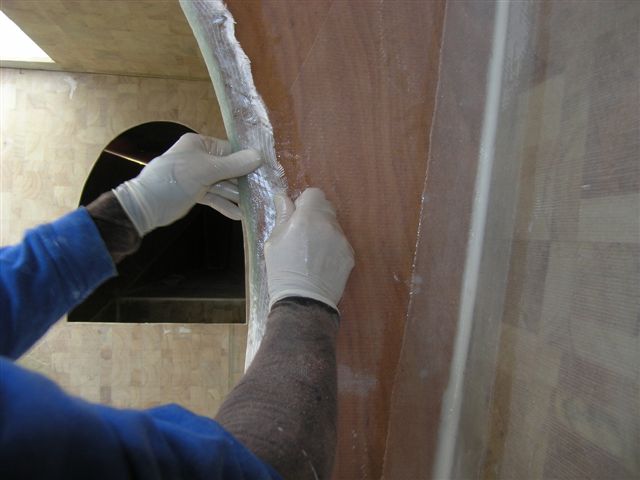
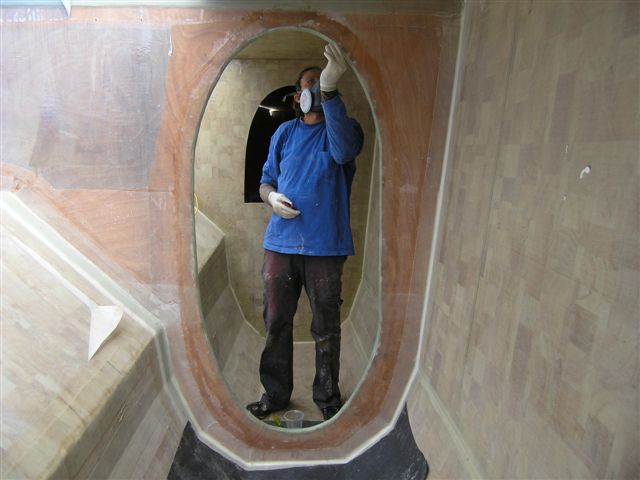
Now.. the passageway is to be edged
with uni all around. This one had me concerned.. seemed like
a dangerous job. How the hell do you keep the shit from falling
out while you work? It turned out not as bad as I thought.
The plans called for a heavy uni tape rolled
up and covered by a layer of light DB tape to stiffen the passageway.
I prepped by wetting the near surface with
resin and mixed up some glue and covered the inside edge with
it. I didn't want to chance air getting trapped under the rolled
up uni. |
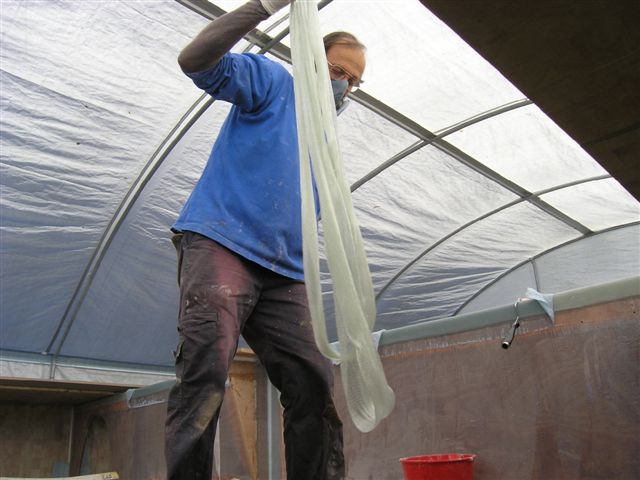 |
So... Measured the uni and DB, wetted
the uni and away we go.... yeeh hah! |
 |
I found the approximate centre of the
wet uni and dry DB and clamped it with a welding clamp, one of
those indispensable tools... |
 |
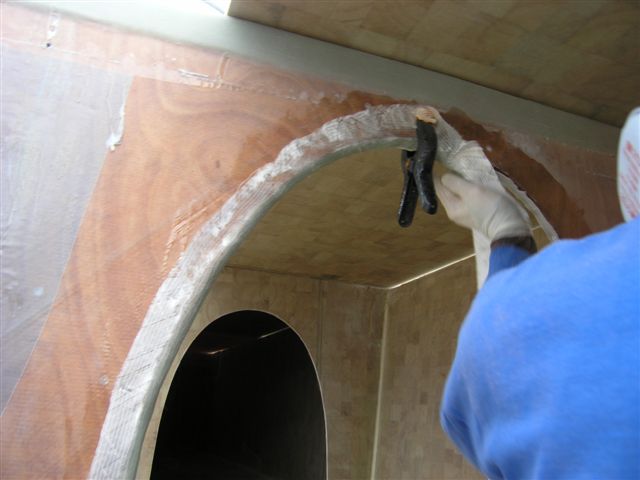
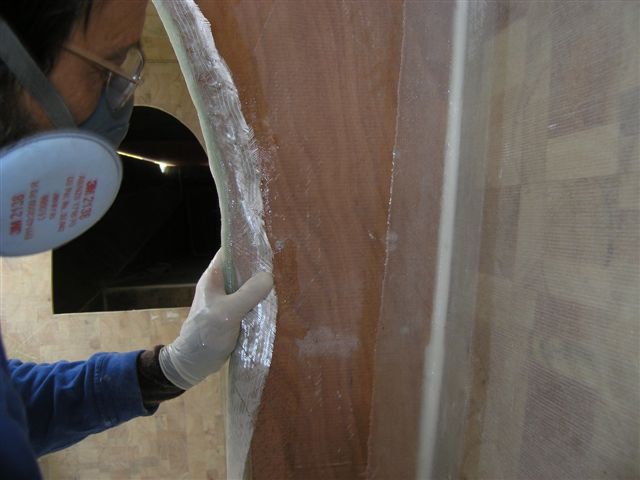
And started working around toward
the bottom. I used some staples from a staple gun... which I
found to be unnecessary after the fact.
Make sure to keep the uni dead on the
bulkhead! don't let any air get behind it because it is very
difficult to go back and try to correct. |
 |
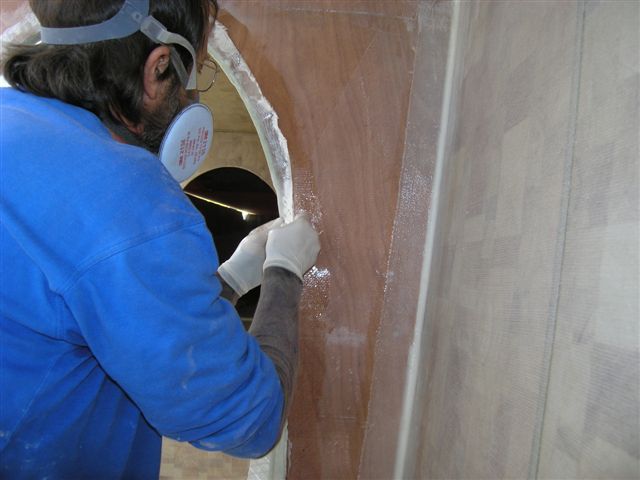
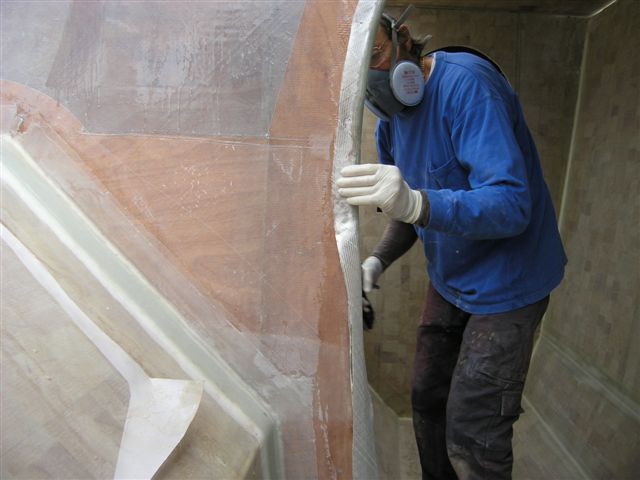
Work steady... and quickly as you can
but don't panic. |
 |
The lower you go the easier it
is... like politics! |
 |
and the other side... |
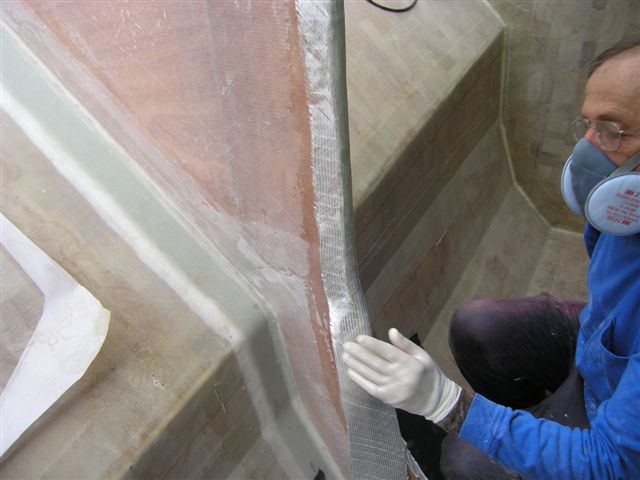 |
almost there... |
 |
GEEEZZZ... I think it's going to work! |
 |
I found out that the curves eat up the
DB tape. You need to measure quite a bit of excess. But no worries,
I spliced in another piece. |
 |
And then pulled the dumb staples. Never
used them again and I've done several of these uni reinforced
passageways since. |
 |
It really paid to stay with it until
the epoxy was getting firm. The closer it got the easier it was
to tidy it up and smooth the surface and get out those little
air pockets. I think the tack to take with these is to just get
the shit up there and tidy it up later. |
 |
Since then I did the chain plate
bulkhead and that was a mean one and a lot of tape! But no worries.
I even did the little bulkhead behind it the same way just cause....
It does make the bulkhead very stiff!
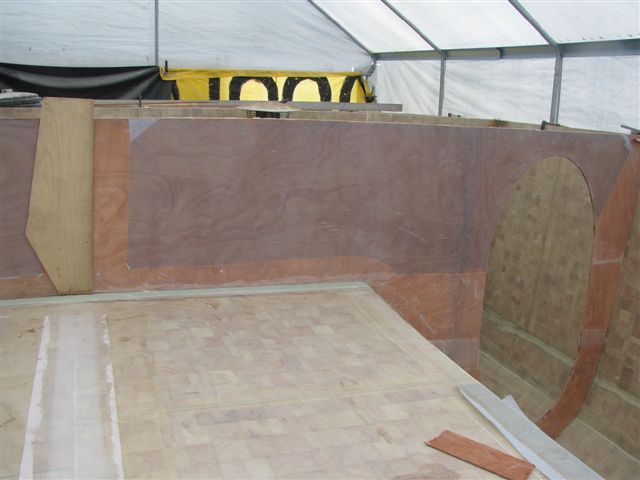
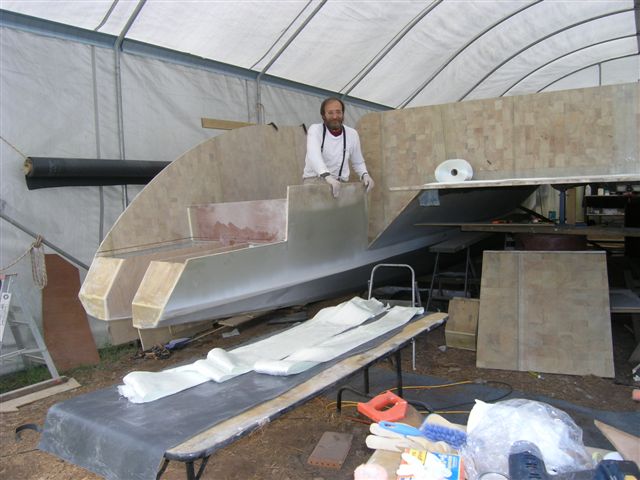
And the cabin you see is the future home
of The Coastal Passage. The whole damn reason for this project. |