 |
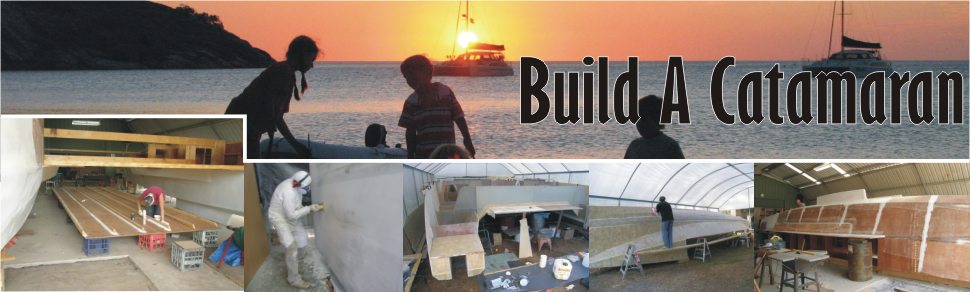
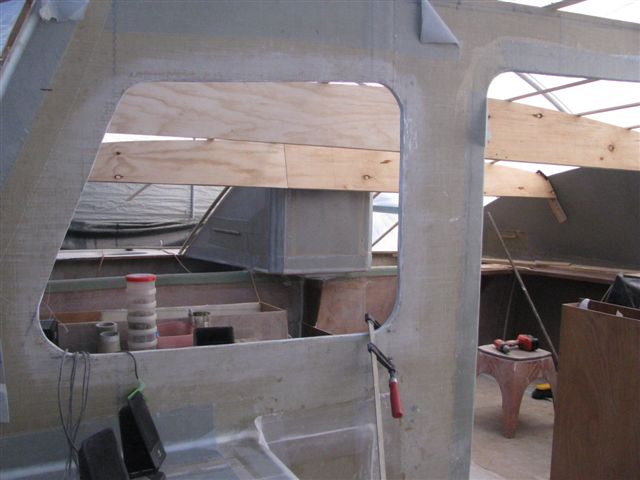
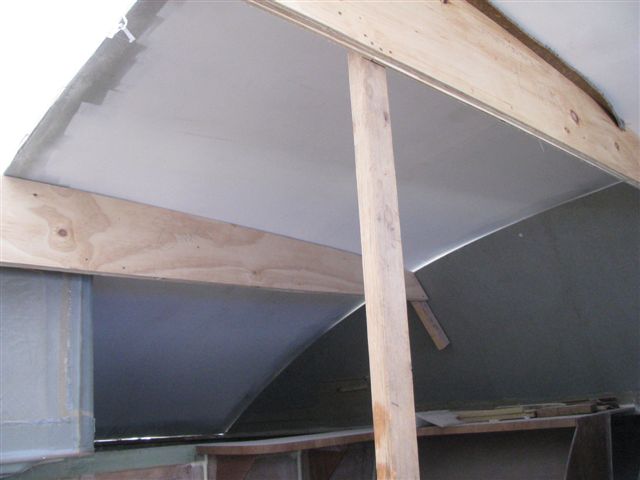
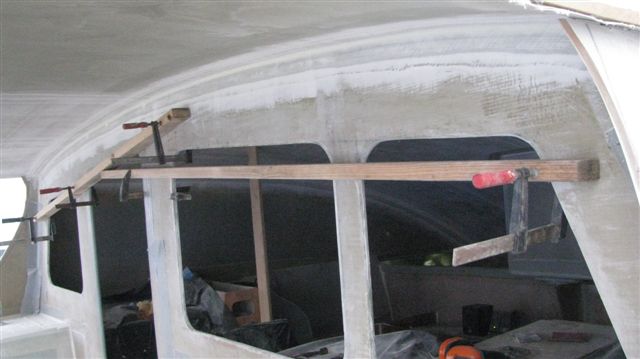
I need frames to support the work
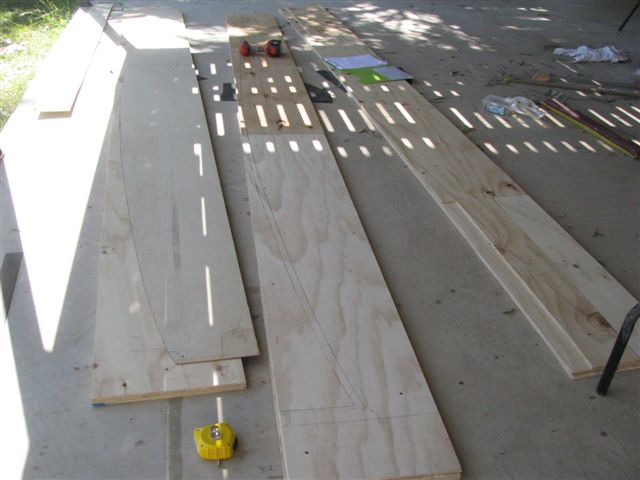
so i get some cheap bracing ply, 12mm and start cutting to shape
and screwing layers of it together to make beams. This is where
I finalise camber. Very important to get this right.
I have seen cats where the cabin top is
where it goes to shit. Beautiful hulls and spoiled because the
cabin is badly shaped and finished. I have nothing on paper,
this is all done on the day,. |
 |
get it right. |
 |
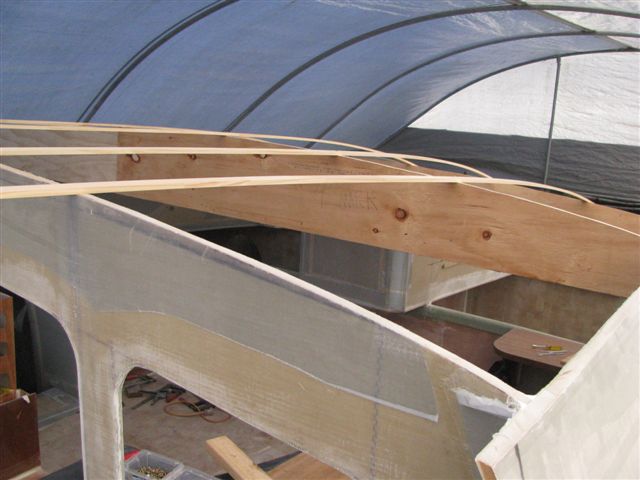
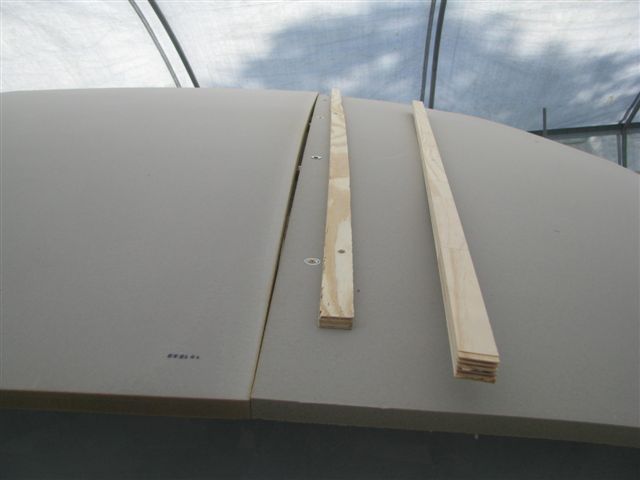
set up scrap timber to form support. |
 |
Getting there. |
 |
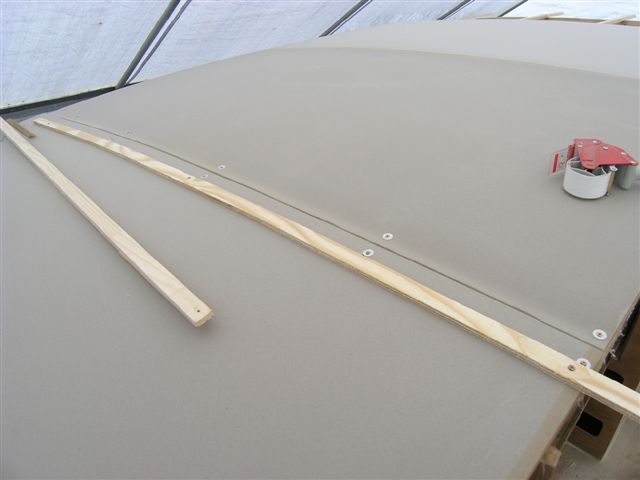
The aft one is set up with clamps below
and supported laterally by the strips screwed into it. |
 |
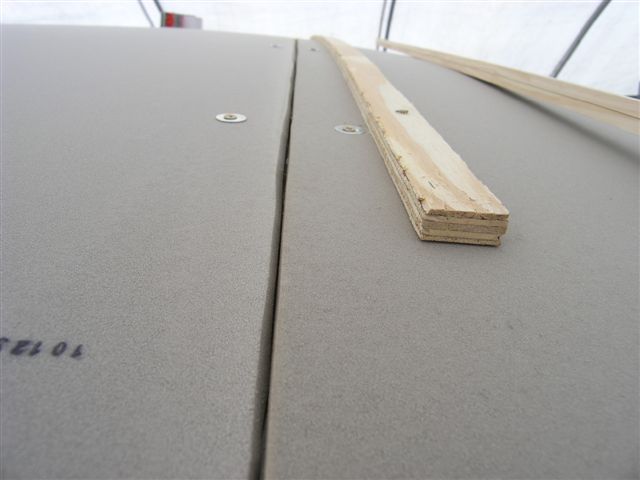
... |
 |
There, now you se what I did. |
 |
A tip I got from Dana Freeman, I set
the foam sheets out in the sun and they started curling up to
form perfectly for my camber! I had one "cooking" while
I fastened in the other. |
 |
There would still be a gap toward the
middle of the sheets but I cut a "V" in between them
any. I wanted glue mix to get in there. |
 |
Now the "V" is cut |
 |
better view here, one side done, a box
knife is the tool. |
 |
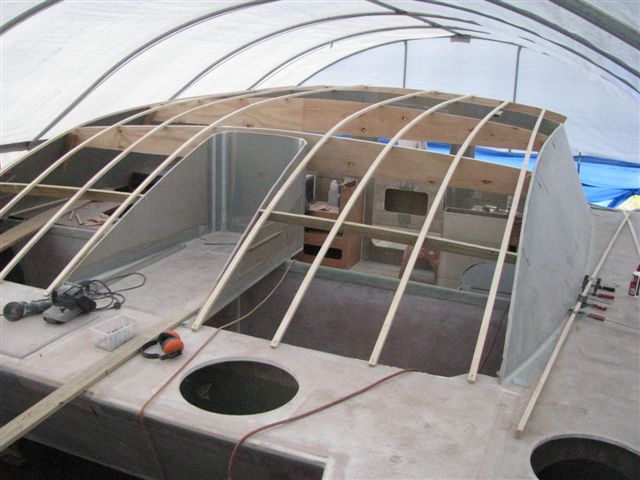
Foam is prepared! There are screws in
many places underneath to hold it to shape as well as brackets
on the side and front. where screws are on the top edges, they
have been covered in packing tape. |
 |
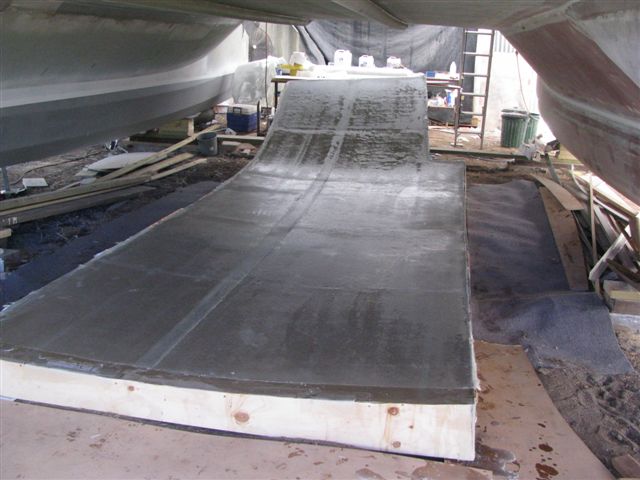
This was done in the hottest time
of the year. Humidity was such that it couldn't be done very
early or late either. We needed the heat to lower the humidity.
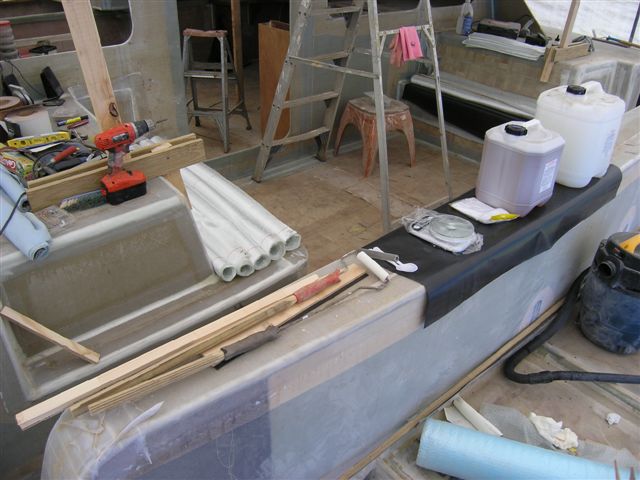
So.. preparation is everything. Everything
pre-cut and sorted. The top will get two layers of 450gm DB in
succession, with edges overlapped and staggered. And then peel
ply as well.
No way I could do this alone, KK got smelly
and sticky right along with me on this one.
Notice the tools all done up with long
handles. |
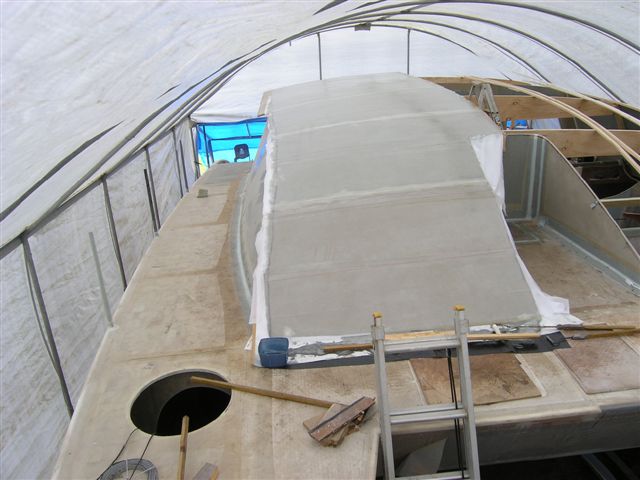 |
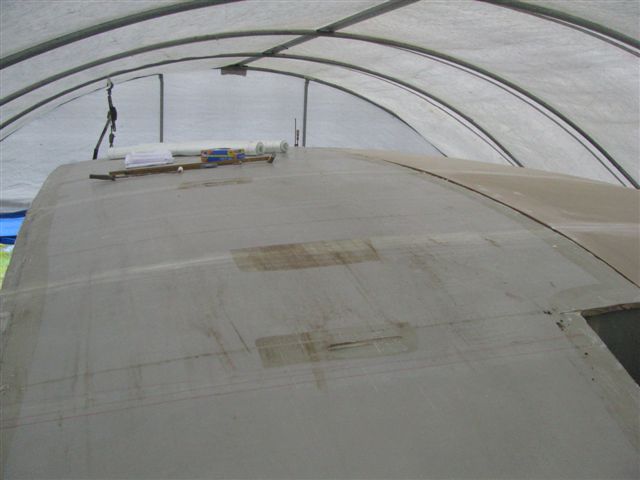
Done! No one to take photos.. it was
a hell job. This is right after removing the tarps that were
all over protecting the rest of the boat. Resin was flying folks!
But the job was done well. |
 |
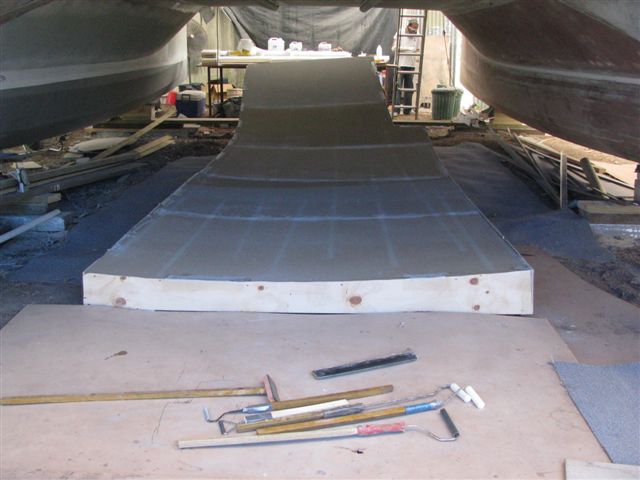
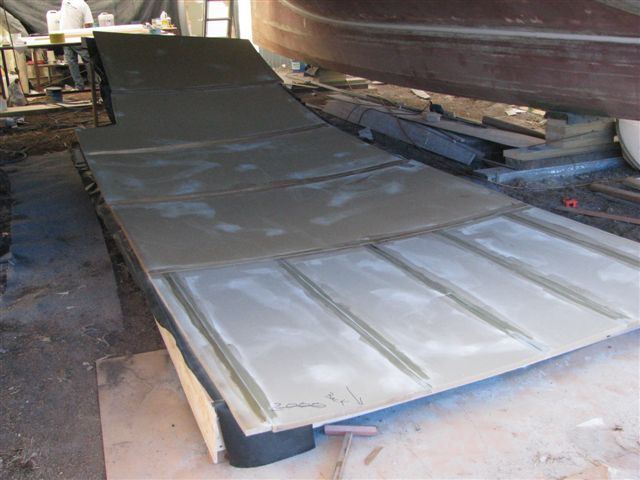
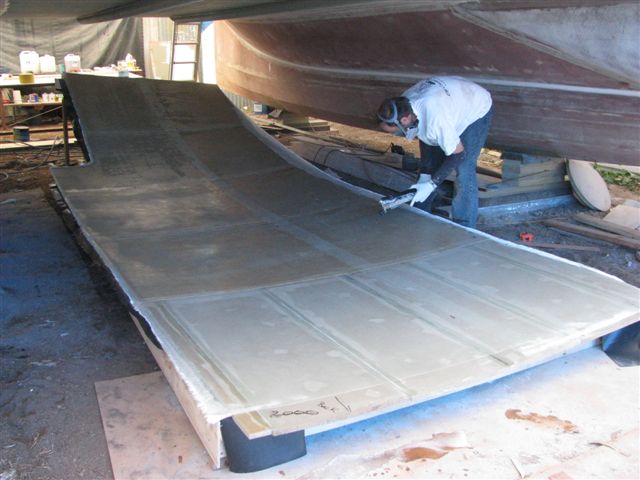
But how to do the other side? I used
some of the cheap ply and made a frame. I tacked the top to it
and hauled it done and put it under the boat. |
 |
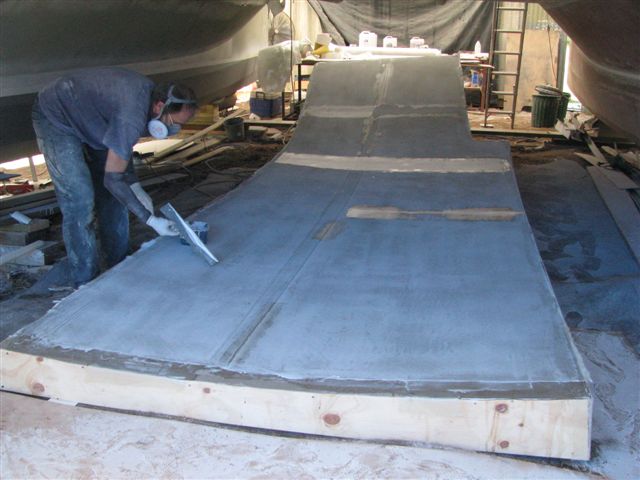
Cleaned off all the fasteners and did
general patching and tidy up. |
 |
Laminated in 600 DB....
KK would have none of it this time. But
ion the cool underneath it was no problem anyway. |
 |
Boog wet on wet |
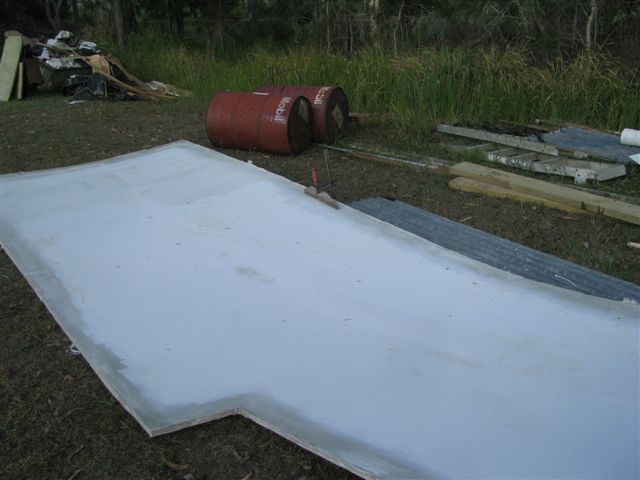 |
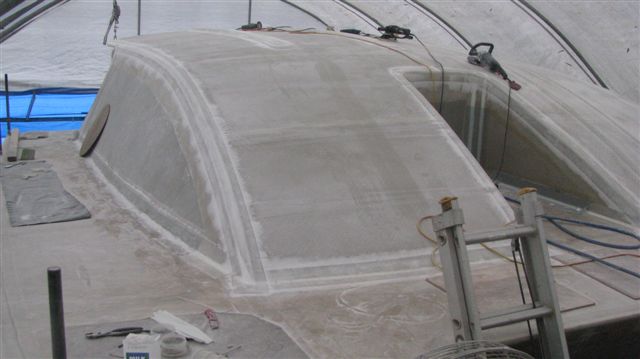
I painted it and drug it outside. |
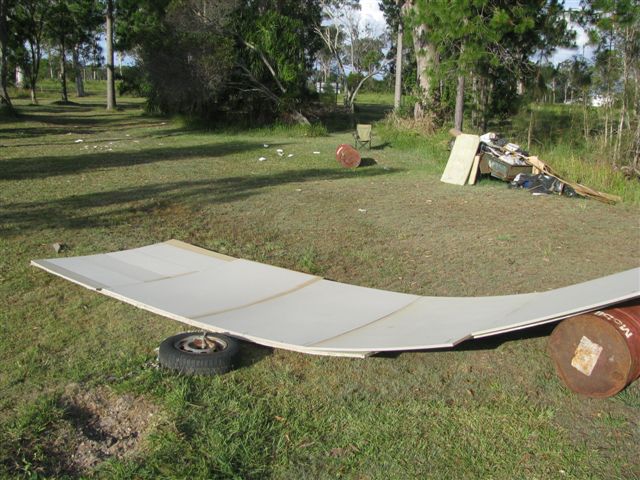 |
The port side half i decided to do
almost opposite of the first go.
I used the starboard top as a form and
put all the sheets in the sun at once. |
 |
Once the frames were prepared for
the other side I put the first (starboard side) up to use as
a working platform and it was fun to check out and see how it
looked. |
 |
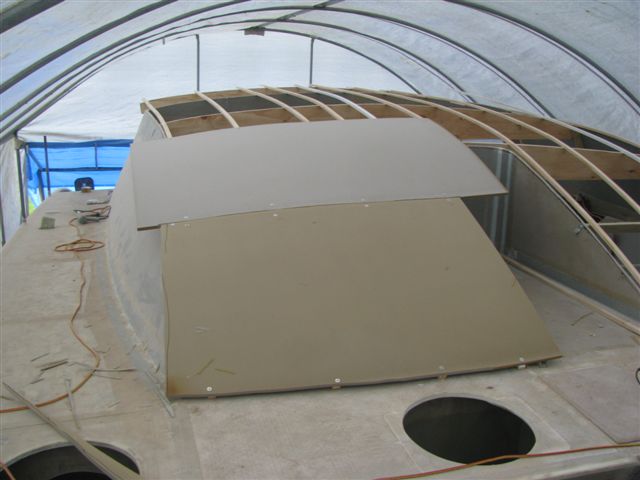
Foam in place |
 |
Held together and trimmed.. |
 |
Crevices cut out and glued where I could
get to them.. |
 |
Then carefully lifted down to the now
altered frame i used to transport down the starboard top. |
 |
Then laminated it with 600 gram DB and
scim coat of bogg..... |
 |
And hoisted it back up. The first side
gets used as a working platform. It still has the peel ply on
it to protect it from the flying resin. |
 |
On this side instead of arranging
the cloth from side to side it was all done lengthwise but still
two layers of 450 gram DB.
And instead of peel ply I bogged it when
wet and this is next day going at the bogg before it hardens
up too much. |
 |
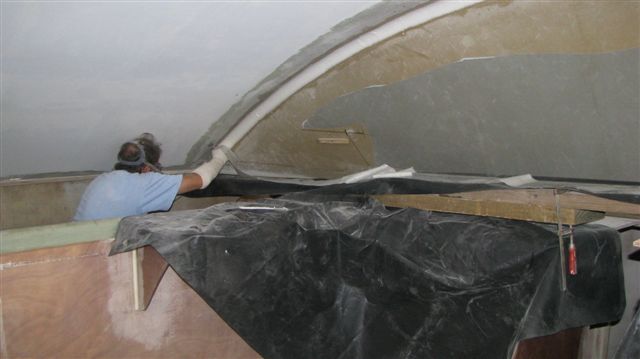
I pulled the pieces together and taped
underneath. Notice the wetting tray I had in place. For overhead
taping you can't prepare it too well if you want it right. |
 |
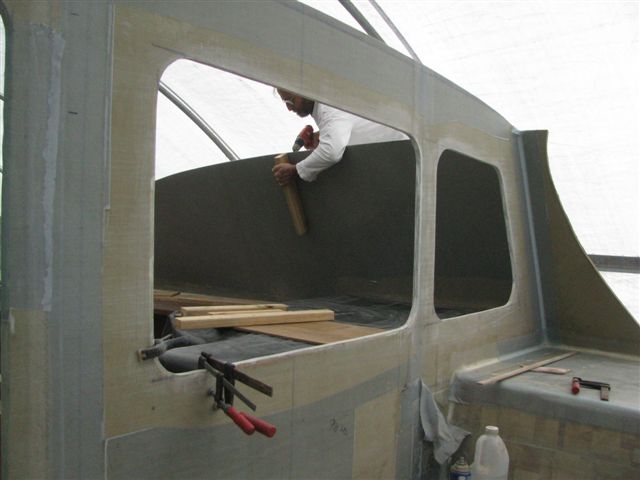
The top is now screwed down to the sides
from outside. I want a soft corner here so mixed up a big batch
of stiff bogg and applied it with a custom shaped spatula. I'm
now wetting the tape, 750 tri ax. |
 |
And start lifting the tape up. |
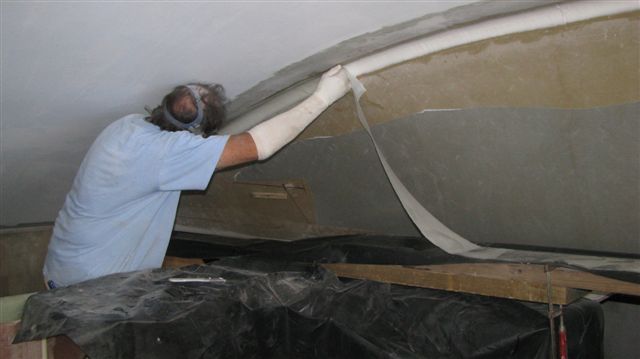 |
lifting....... |
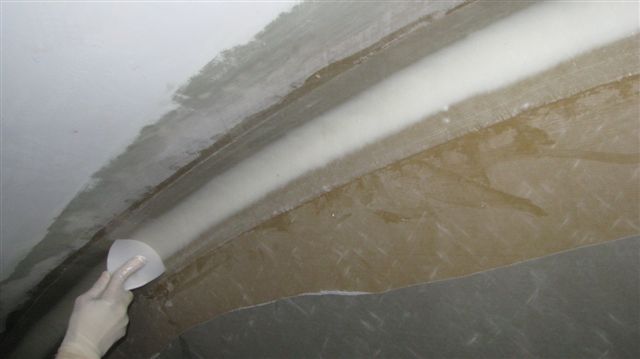 |
I use my spatula to go over the tape
and bogg for final shaping. |
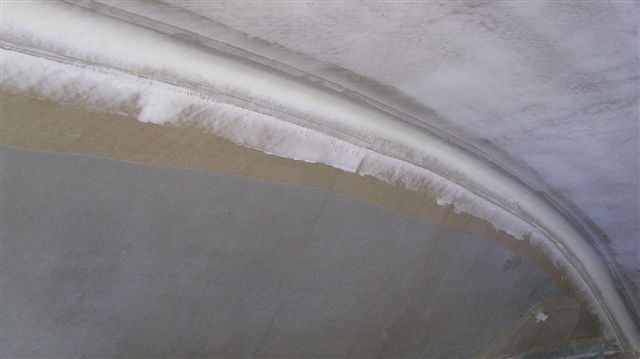 |
I put a scim coat of bogg on later and
once done only needed a light sand to prepare for paint. |
|
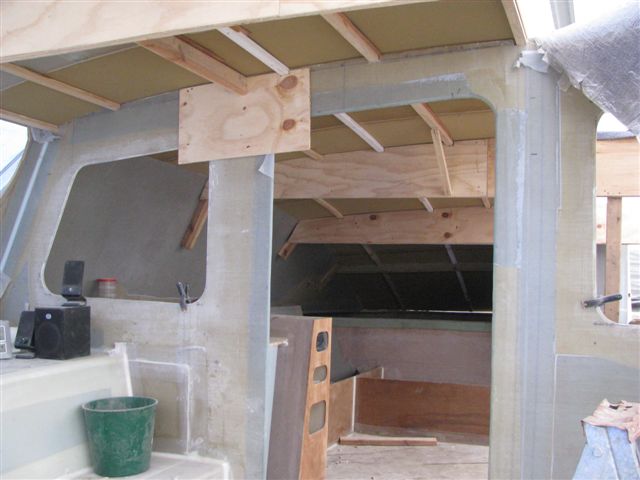
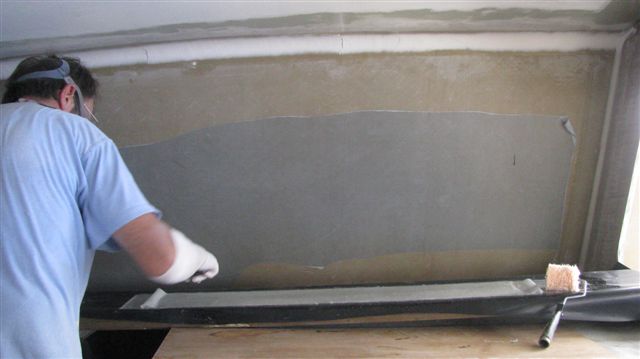
this bulkhead was reinforced with uni
in case i decided to mount winches above. taking care to insure
the bulkhead was straight prior to taping. |

|
since i was using DB clothe it didn't
mater which direction i put the roll so tried both. what the
hell, it is a learning process. the starboard edge is next to
be softened then taped. |
|
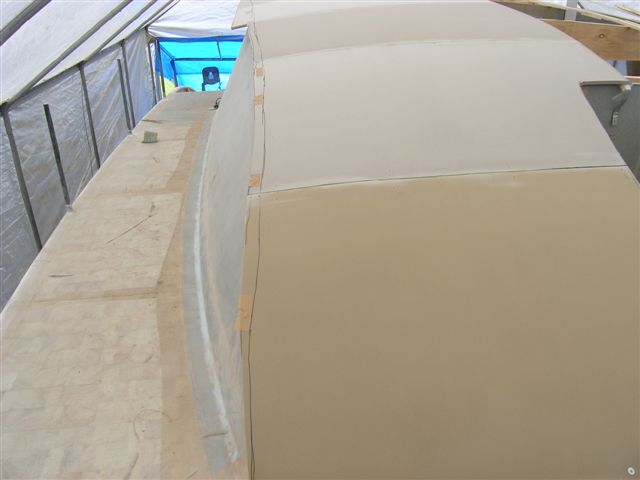
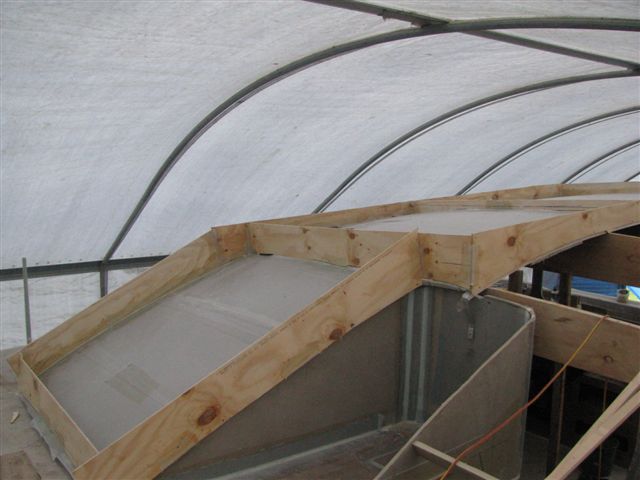
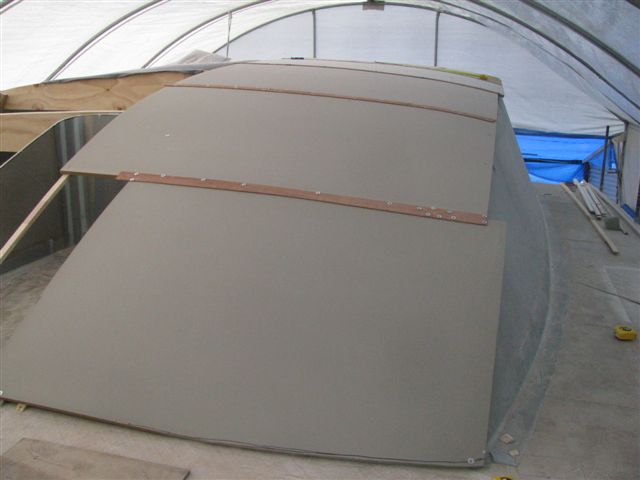
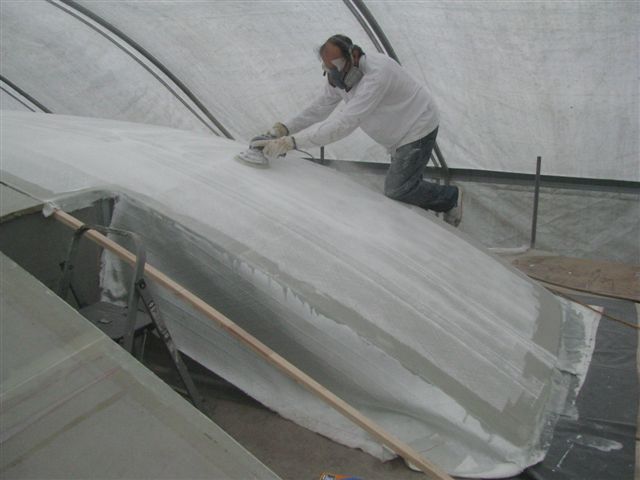
The shell is now complete.Three stringers
using drainpipe and several layers of uni. Result is very stiff.
|
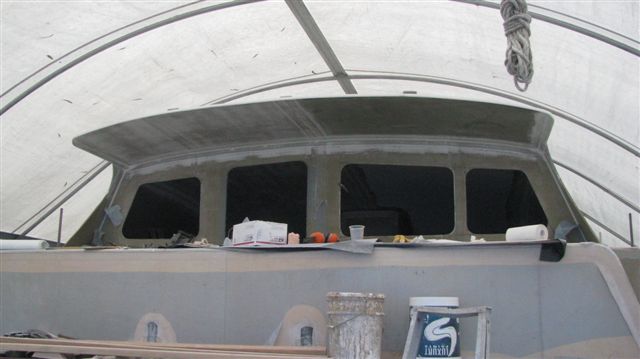 |
Canopy edge is decored and reinforced
with uni as well. The canopy is also stiff. Well beyond expectations. |
|
|
|
|
|
|
|
|
|