|
Laminating Foam
Panels with Vinylester Resin
What the hell... I wanted to know
what the alternative was anyway and what i learned I pass on
here. This was my first choice in resin before I took advise
I wish I hadn't took. |
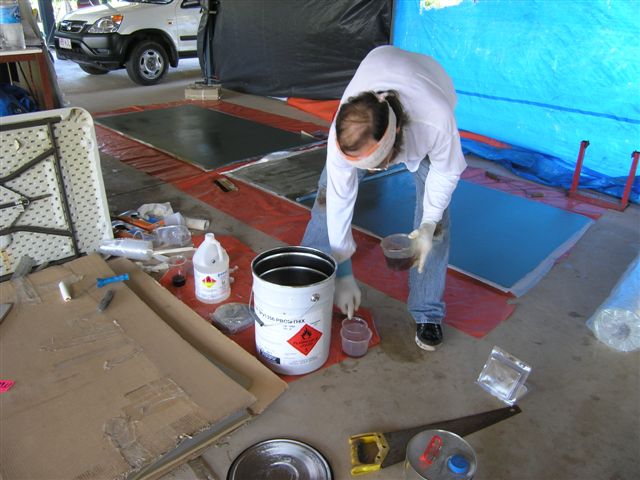 |
These photos aren't necessarily in
chronological order but do show the steps in order. The foam
is 20mm thick, 4 X 7 foot and density is 80 kg, or 80 kg per
cubic metre. This is a good density and thickness for decking
which is what this will be for. Vinylester is less permeable
than polyester, which doesn't matter much in this application,
but is also reputed to be stronger than polyester. Epoxies adhere
to this well, so no problem with joining to other work on the
boat as long as epoxy is used as the joining agent. Here I am
dipping out some resin.
There are a couple important tips at
the end of this page! |
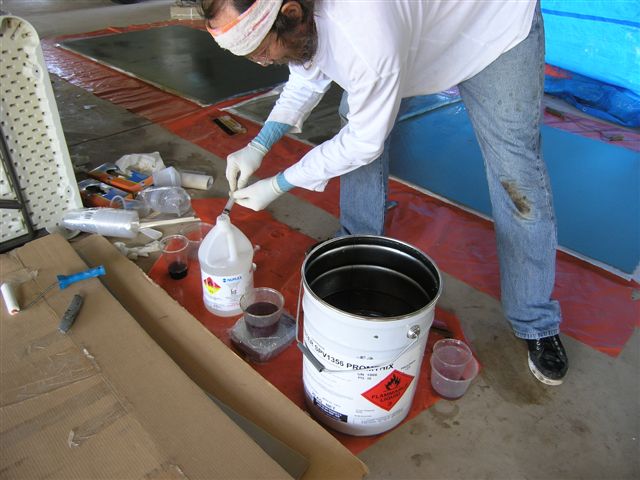 |
I was using small (to small really)
batches. Here I have resin on a digital scale and am loading
a syringe with catalyst. The mix is usually about 100:1. Knowing
what I know now I would have been mixing about a kilo at a time
but this one looks like about 400 grams. |
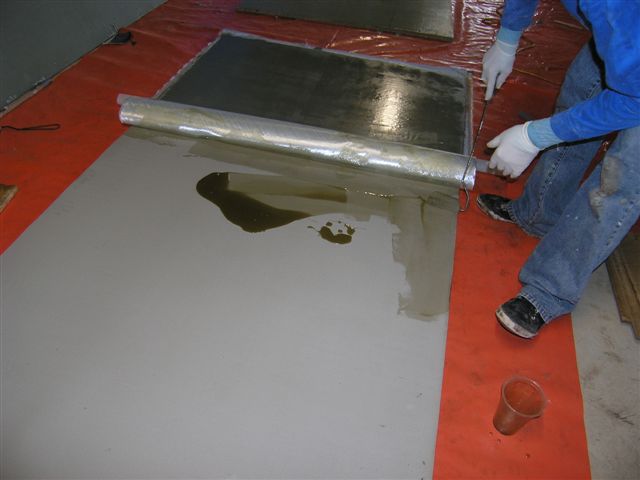 |
It really helps to wet the foam first.
It doesn't have to be flooded, just wet. |
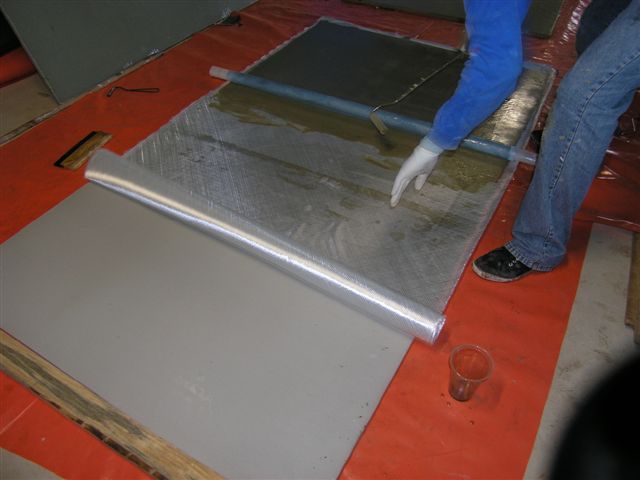 |
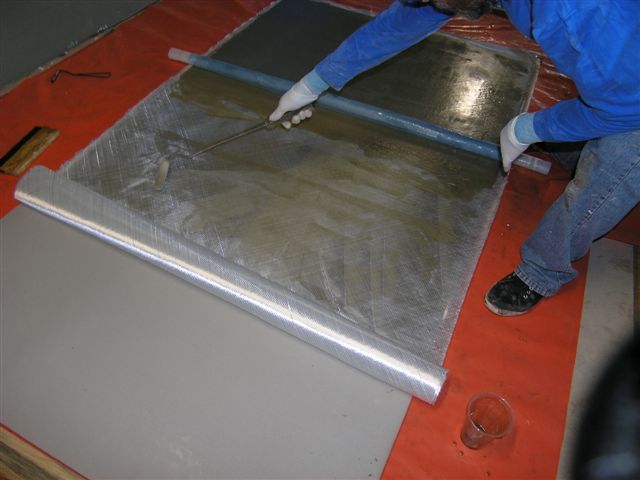
Then roll out the e'glass. This is 800
gram double bias. I'm smoothing out the glass with the roller. |
 |
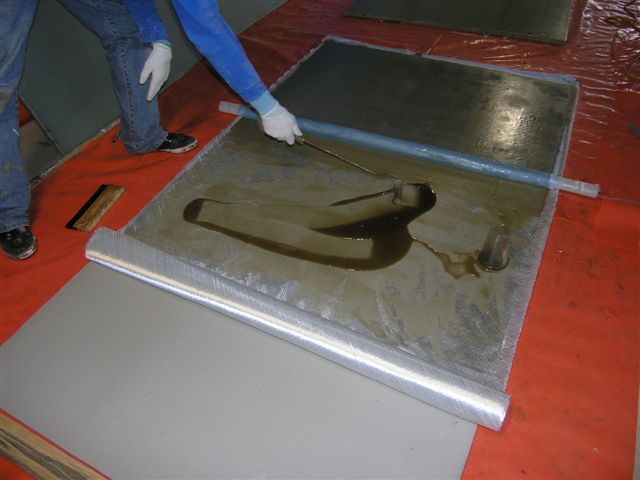
Roll it in to spread it evenly and to
help it start wetting from the resin under it. |
 |
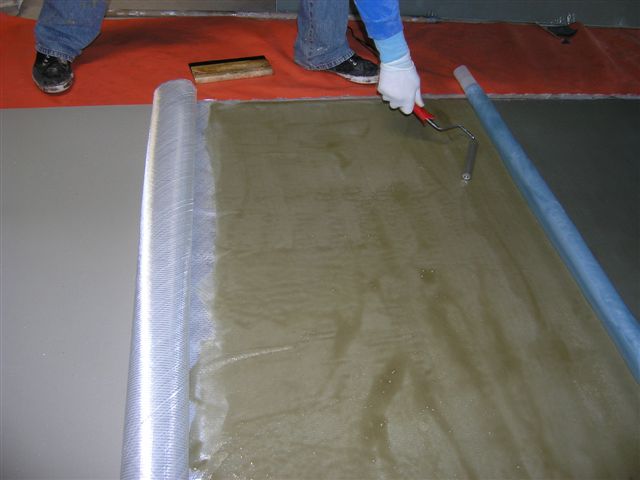
Then pour on the resin. You can see
that the glass is already partly wet from underside from when
I rolled on it to spread out the glass. |
 |
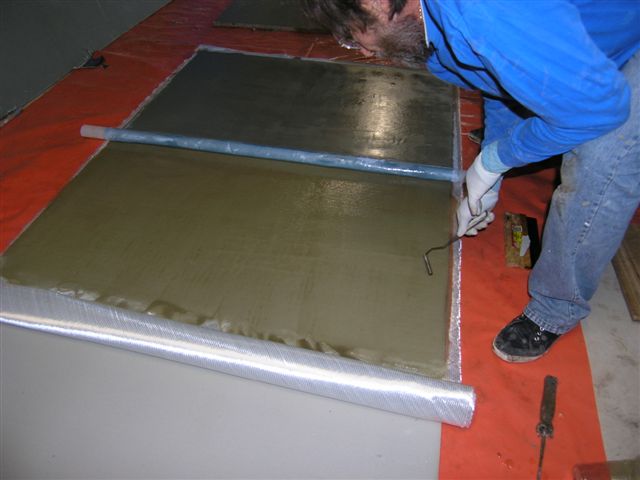
Now I've spread the resin around and
have used my consolidating roller to remove any air under the
glass. This type of consolidating roller or "cutter"
as some call it, works best when flooded with resin. I used a
squeegee to move any excess resin forward. |
 |
The small cutter works best in fine detail
and when the resin is spread around to normal wetness. I have
just used the squeegee behind my foot to push the flood forward.
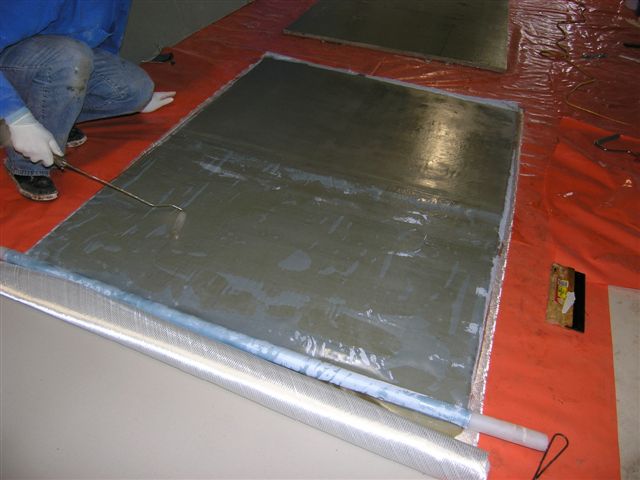
I am using "peel Ply" (light
weight polyester cloth) to insure a fine finish and had it pre
measured like I did the glass and now roll it forward to cover
the area just worked. |
 |
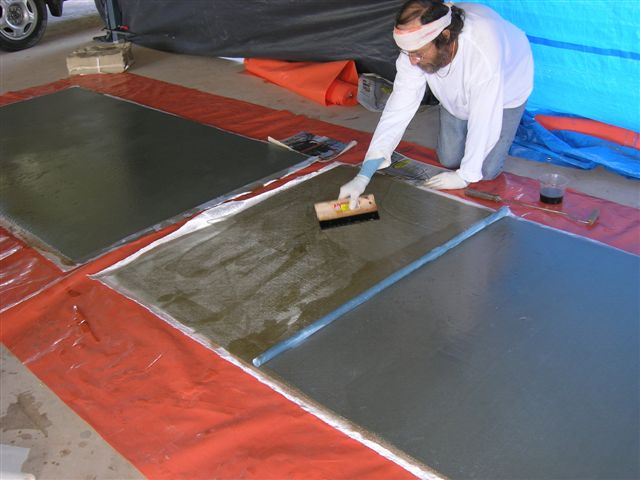
And roll it on to smooth. You
have to "work" the peel ply. Start from the centre
and work outward and use your free hand to drag the cloth toward
the edge to help eliminate wrinkles. You can wet the roller to
help wet in the cloth and even to help wet the resin if you think
you have a spot that is undersaturated. I like to use my consolidating
roller over the peel ply too if needed and if time allows!!!!
|
 |
And if at the end of the panel you have
more resin than you need... I keep reject papers for pushing
the excess off before rolling out the last of the peel ply. |
|
OK... lessons learnt and tips...
this stuff get sticky as hell.
Toward the end of the panels it's sticky enough that it pulled
the fine cotton thread out of the weave on the glass and ripped
it out. This doesn't trash the job but it can leave a rough spot
in the finish and it's damned annoying. The cure? After these
were done I got in the habit of putting a length of PVC tape
over the place where I was going to cut the glass and left it
in place after the cut. That kept the cotton thread from being
pulled up. It also helped keep the glass from loosing it's shape
and making a bumpy surface. One person wetting, rolling etc,
can work OK but the peel ply requires more time and stresses
the situation.
I really disliked the sticky bit. Besides
pulling out thread from the glass everything I touched stuck
like glue to my gloves. It is about 60% of the cost of Epoxy
and the vapours are not toxic to me. I thought it over and went
back to epoxy for laminating after a few of these. |
|
|
|
|
|
|
|
|
|
|
|
|
|
|
|

