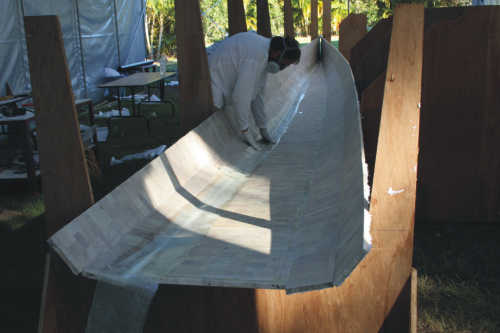
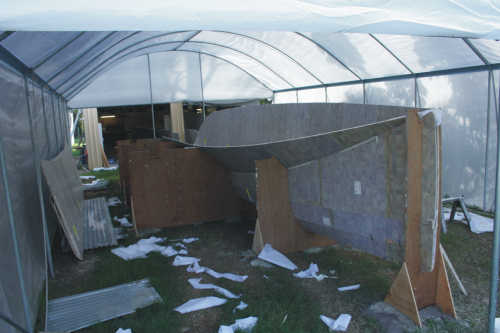
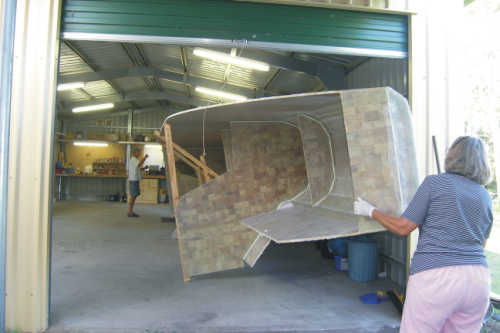
Good progress this cycle! With 28 days
and only a bit of business and home duties to slow me down I'm
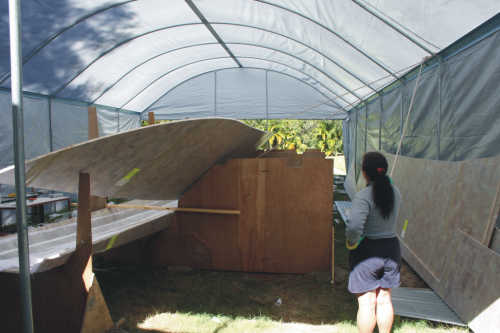
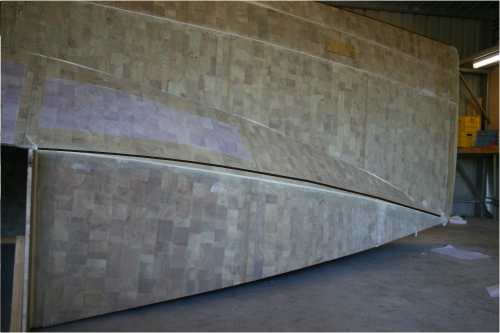
satisfied the boat is coming along. Left below is the first hull
that we flipped a couple days ago and the new hull at right almost
ready to flip. I've decided to join the bridgedeck as a unit
after both hulls have been flipped and finished on the bum instead
of joining half the deck and joining the split. I will feel more
confident of good alignment if I can set in the structural bulkheads
as complete units. Also not near as clumsy a thing to roll around.
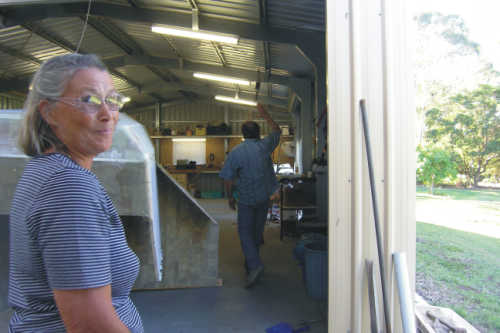
It's hard to work and play photographer
at the same time so I apologise if the photos aren't organised
to best perspective but these were mostly caught by my partner
whilst I was hard at it. But stop your whining cause if you are
studying these pages for instruction you are going to be miles
ahead of where I started. Building from these kinds of plans
(anyone's) involves a lot of independent direction and it's very
common, especially with a newer style of boat, to find (hopefully)
small mistakes or incomplete directions. As I have progressed
with this project I have found numerous and sometimes dangerous
mistakes and misinformation in the plans. You must be able to
work independently!! Never believe anything that hasn't been
verified or that "just doesn't look right". the advise
is.. take responsibility, stay alert!
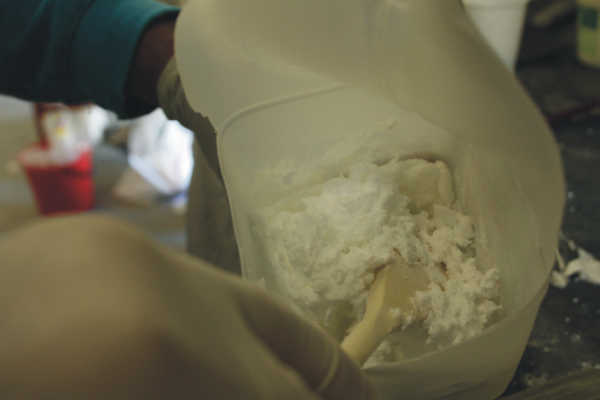
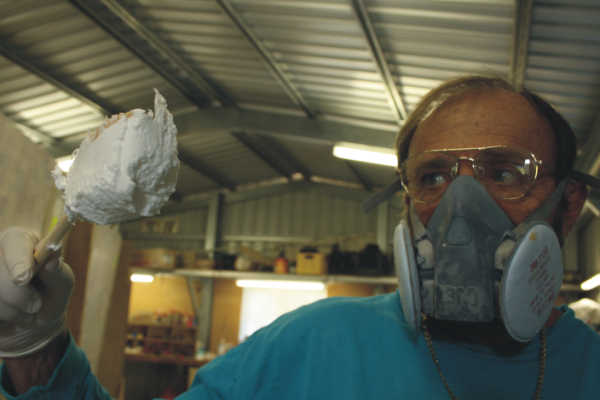
In previous taping and filleting
I had to be more careful than I should have because I wasn't
making the stuff thick enough. With real body, it is much easier
to work.
like so...
a cute little trick... I love those
cheap wood stirring spoons. I use them to mix, apply and then
to make the perfect fillet I go over the bogg like you see here.
Perfect radius!
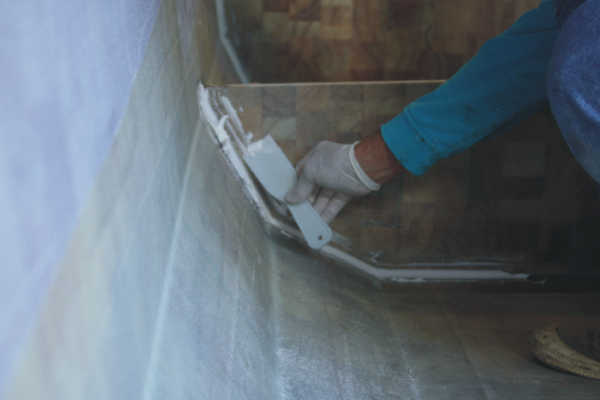
For scrapers, I prefer the
cheap plastic kind as they are reusable. Just let the shit harden
and then bend the things and the bogg breaks off. It doesn't
stick well to the plastic.
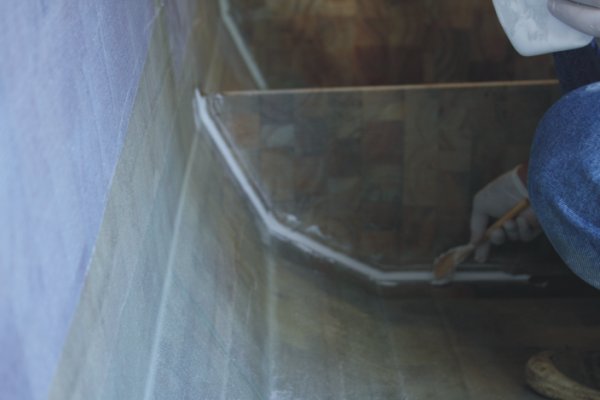
this one is easier to see. The fillet
is done and ready to lay the wetted tape on. I used clamps on
this joint to torture the panels to fit the bulkhead.
When all hull panels are in
place you can do the bow. Here the panels have been clamped and
held in place any way you can. The idea is to form the stuff
to fair. Then a 100mm wide piece of scrap is cut to shape to
insert behind the outside edge. Fill the inside with bogg and
force the scrap into it. (already done in this photo and clamps
removed) then smooth the bogg and tape over . This can be tricky
as this thick of a resin body creates heat that can make the
stuff smoke! And go off very fast.
When done that is what it should
look like.
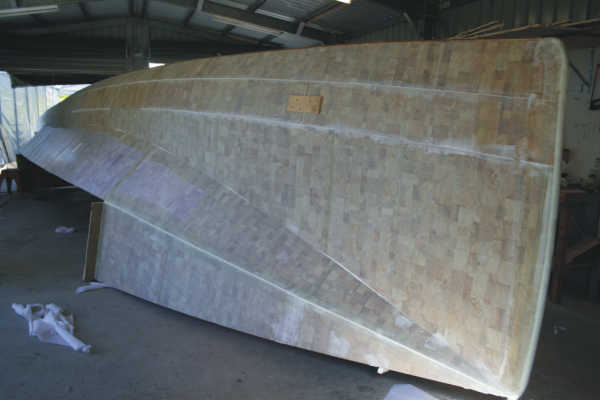
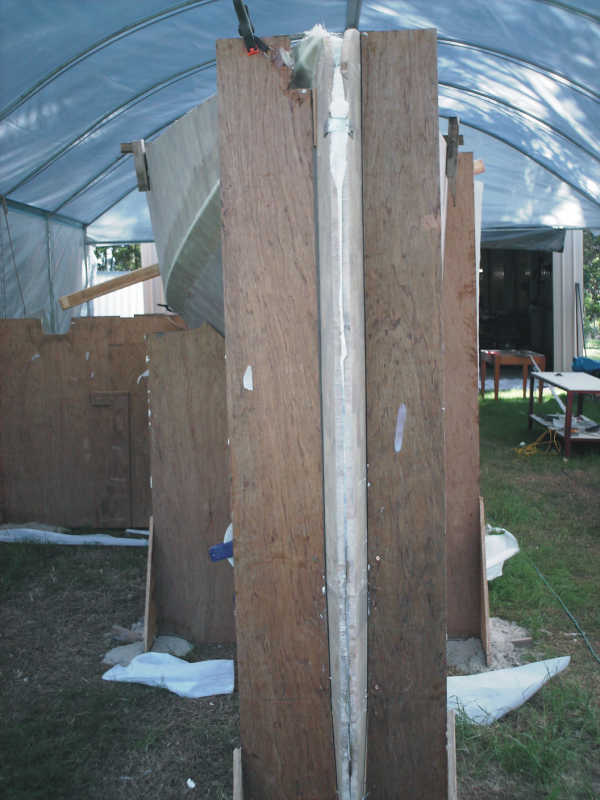
Then the first bulkhead,
what a bitch of a thing. The bulkhead is at an angle, meeting
the bogged bow at the bottom and about 500mm back at the top.
There is no way to reach the work area down below in front. The
way I got around it was to leave a careful mound of bogg on the
forward edge of the panel prior to inserting it in place. Place
a couple screws at top and then fillet the inside. To tape the
forward side I used a broomstick cut off to nudge the tape in
place and then taped a paint brush to work it in and then masking
tape to hold the roller on the stick.. all this whilst holding
a torch in the other hand... would like to have had three hands
and 40 inch arms for this job...
It all came good!
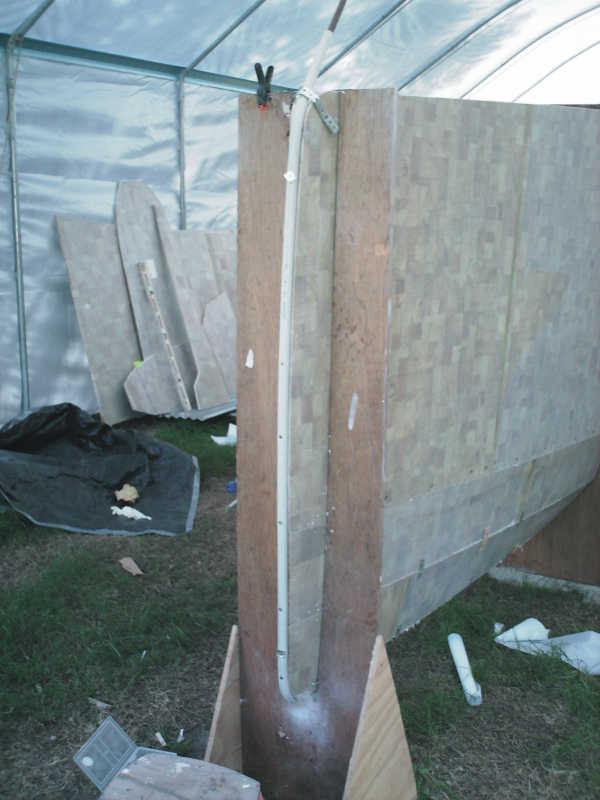
Then trim off excess bogg and
even out the edges. Fasten and force into shape some PVC pipe
of 20 to 25 mm, screw in place and bogg around the sides. when
bogg is set remove screws and bogg around the screw holes and
tape over with two overlapping strips of glass. Then later, fill
the pipe with left over resin.
A finished bow
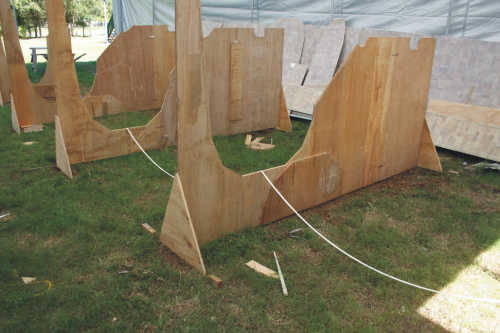
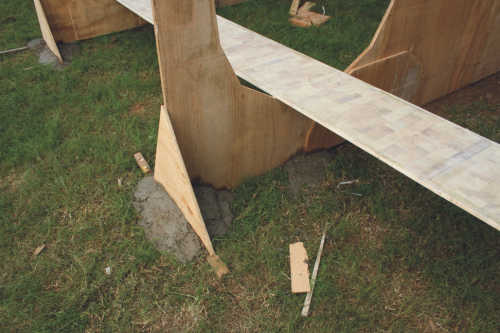
The next keel panel... except
it was wrong!!!!!
It was cut 20mm undersize every side...
OH SHIT!! So.... cut a bunch of very accurate 20 mm strips from
my scrap pile and fastened with glue and screws driven through
the edges. Screws were removed after setting of course. the stem
end would be too messy to do that way so just cut the old one
off and taped a new section in and very carefully.... very carefully...
redrew the lines and cut... very carefully.
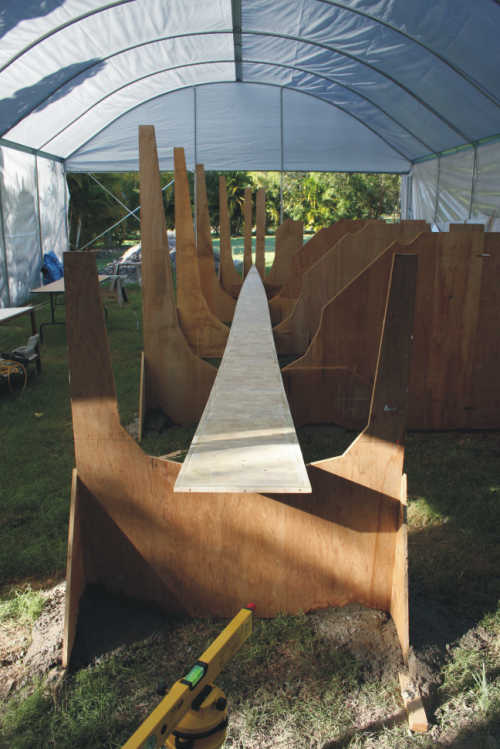
setting up temp forms on rough ground.
Using a cheap little laser level I started on the bow end and
set wedges under the legs of the forms to level and set distance
and true.. very carefully!!! Forms must be accurate in four dimensions.
Distance between forms, angle side to side, angle back and forth
and level.
I found it easier to fasten in the
keel panel with a single screw in the centre to set distance
between and helpful for the other dimensions. when satisfied
I poured concrete on the legs to hold in place. when ready to
drop the hull out of the forms it won't take much to smash the
concrete out.
OK.. looking good.
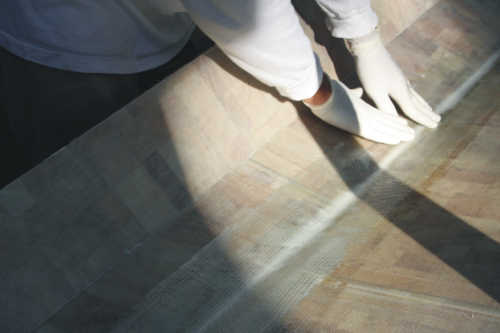
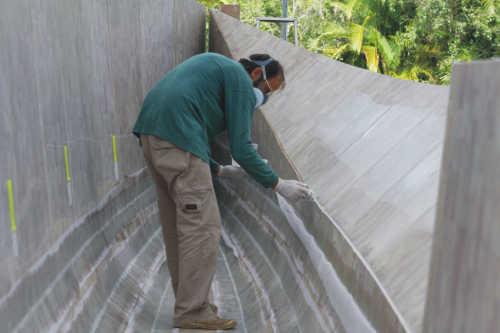
preparing panels for taping.. remove
all peel ply and grind off any excess glue ect..
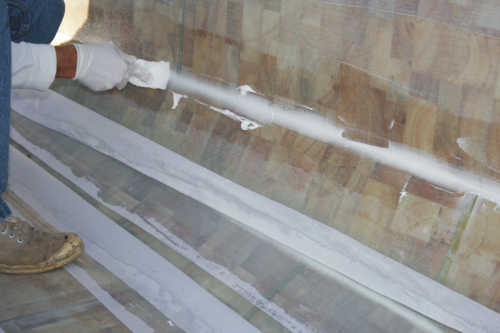
tape...
Smoothing the wetted tape unto the
filleted and prepped join then will roll on a little more resin
then cover with peel ply and roll with consolidator and if required
you can roll a little more resin on with the paint roller right
over the peel ply.
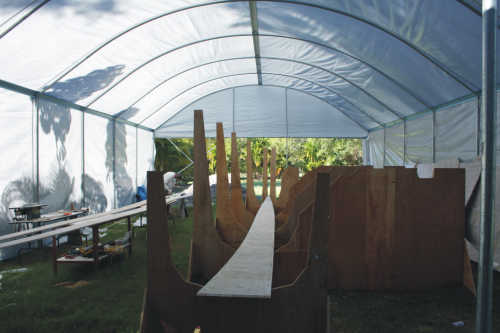
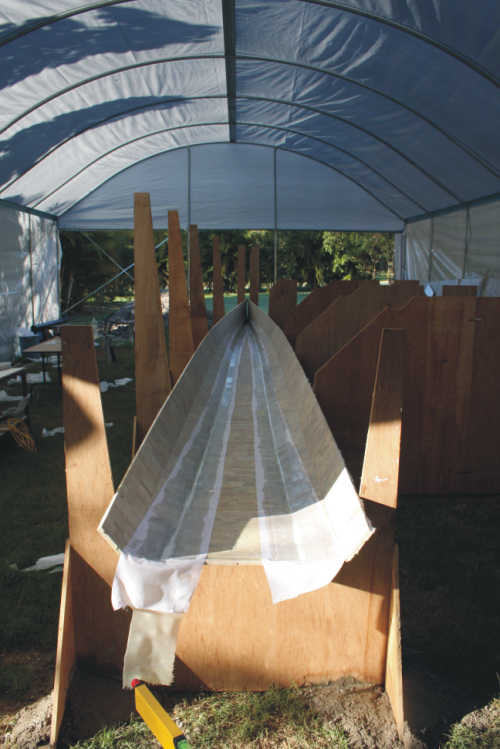
lowering in the big sheer panel
there is a lot of filling on the
chamfer panel, it is cut kinda sorta close but not perfect, a
limitation of the cad program I think. the upper hull panel is
really off too. See bottom of page for more comment on this.
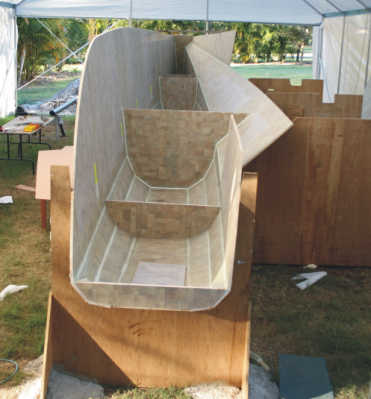
this is with the chamfer panel in
and ready for the upper hull panel and bulkheads and bow work.
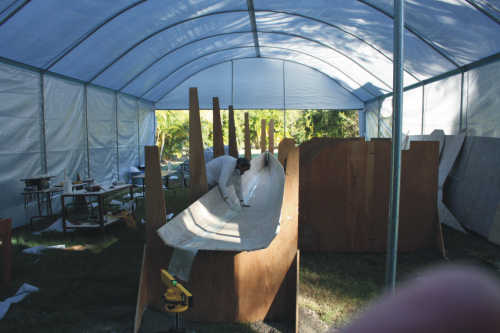
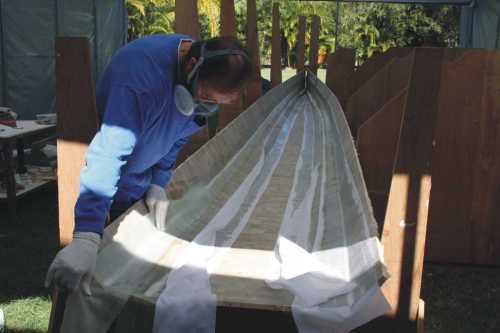
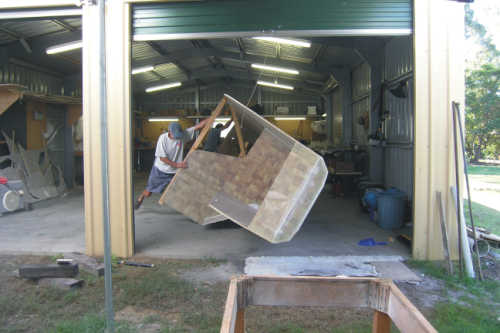
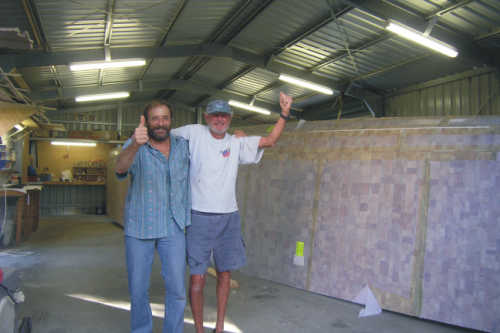
And now to turn the
other hull as a pair of victims showed up to help. Keith of "Speranza"
is not shy about admitting a "technical bypass at birth"
suckers are hard to come by so we decide to go ahead anyway...
hhmmmmmmm?? how do we do this?!?!
braced up to preserve the sheer line
and prevent too much damage.
we can shove it around but....
hmmmm again...
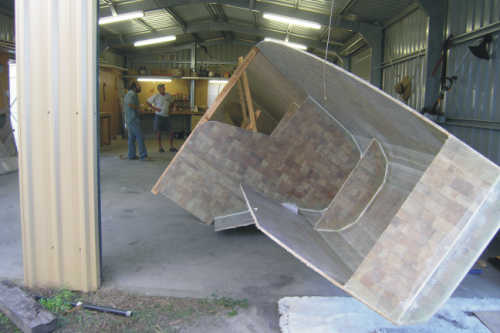
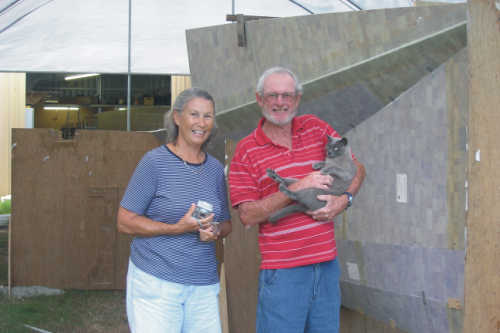
Patti of "Speranza" gives
the boys a little hand...
Patti reckons she'll let the boys
think they did it..
legends in their own minds..
thanks Patti and Kieth!
Tricks,
Fixes and Problems
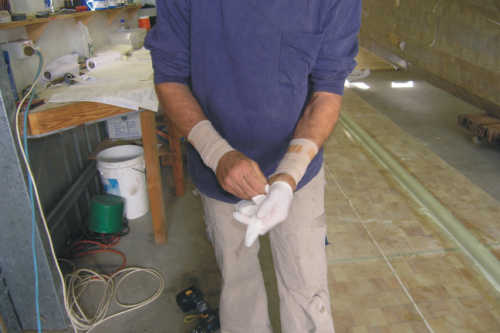
Epoxy is murder on me and a lot of people.
I found normal rubber gloves inadequate as my shirt sleeves would
ride down and pick up a bit of epoxy and then ride up my arm
again when I moved and transfer the epoxy to my wrists which
were suffering and I couldn't figure out how for a while. Now
I use barrier cream and ace bandages taped on and it really makes
a difference. I can't make it plain enough... do not get this
shit on you and wear a very good quality respirator at all times
when working the stuff. I use a 3m brand not that Chinese made
junk from the hardware store.
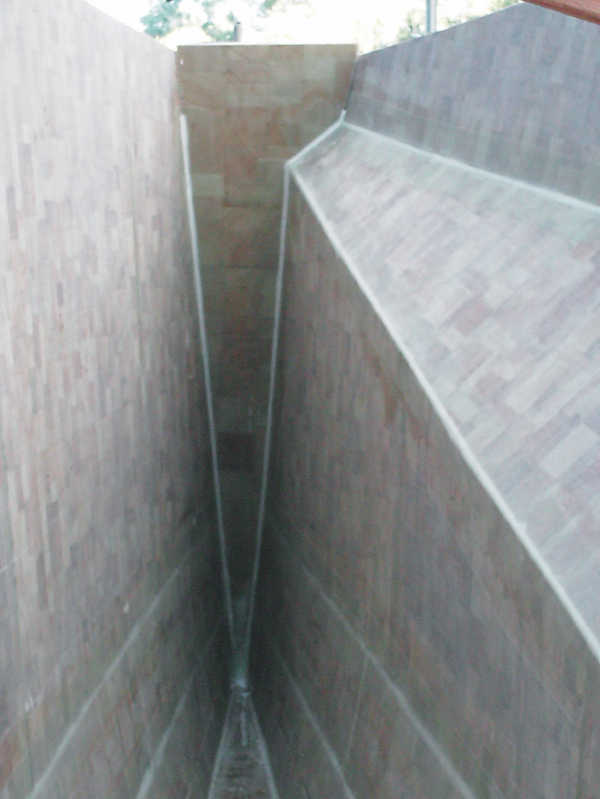
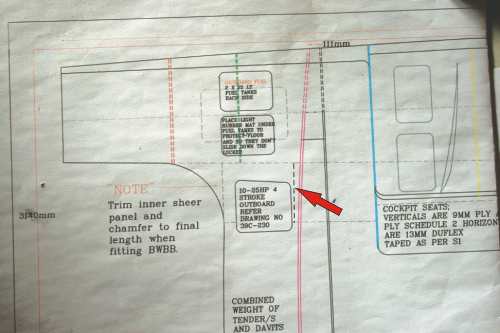
I found an anomaly in the plans that
will cost a little work but it could have been worse. The big
red arrow and the dotted line it points to are objects I put
there to show the actual end of the chamfer panel. The dotted
line to the left of that is where the plans indicated the end
of the chamfer panel. The problem it caused was that I was about
to cut off material on the deck panel as it appeared to be over
long relative to the chamfer panel. I stopped short of making
the cut but did do the under deck support before I found out
the error in plans. see below..
I was just about to cut off the deck
panel to be even with the chamfer panel as the plans indicated.
As it is I will have to scarf in another piece of pipe for the
support and fair it off later. It turns out that the deck is
meant to overhang the chamfer panel. I have made the designer
aware of the problem so assume it will be fixed in future plans
but this makes a good point about keeping alert. I give myself
a C+ grade for spotting it before I cut but after the support
glassing.
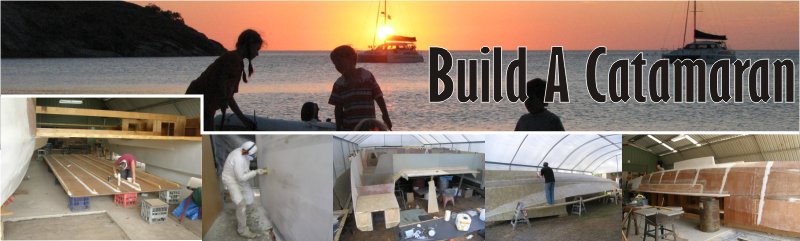
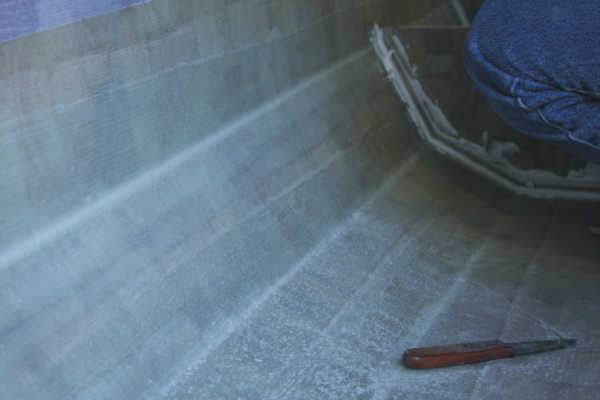
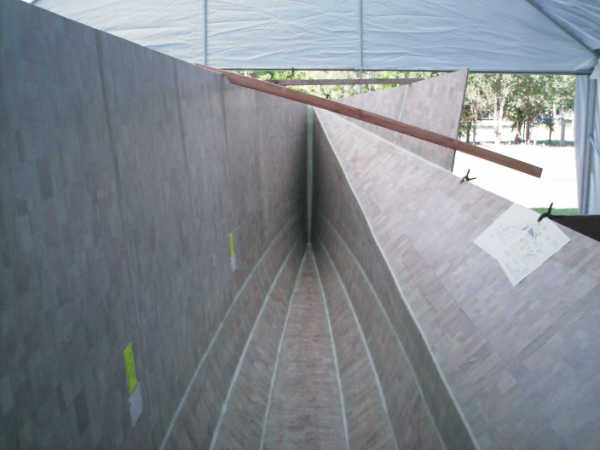
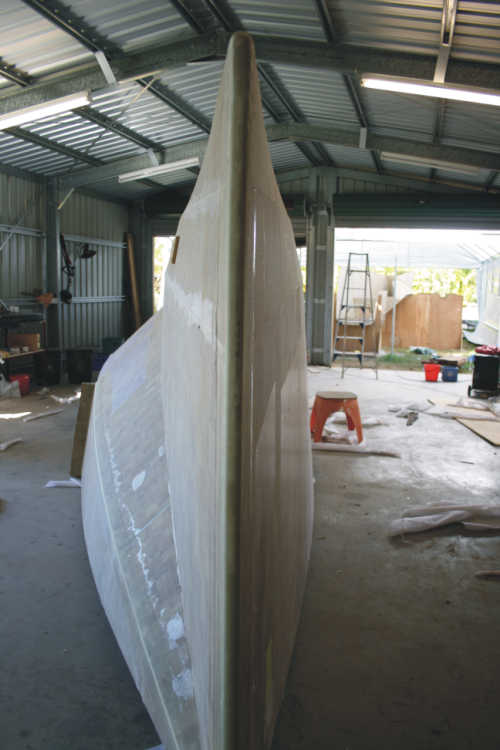
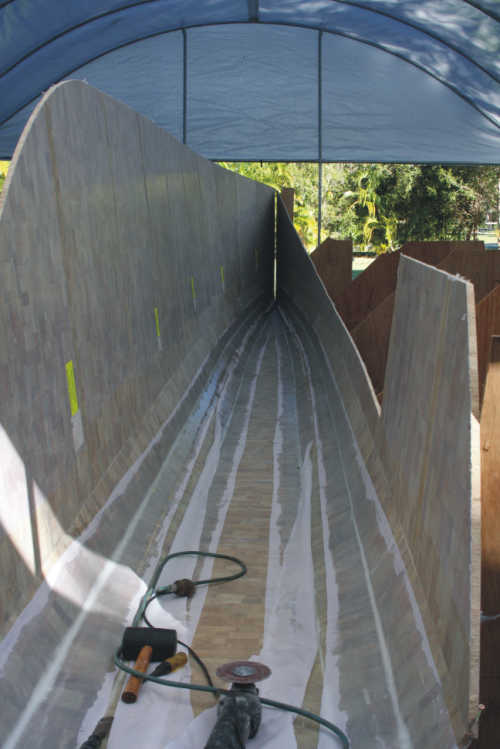
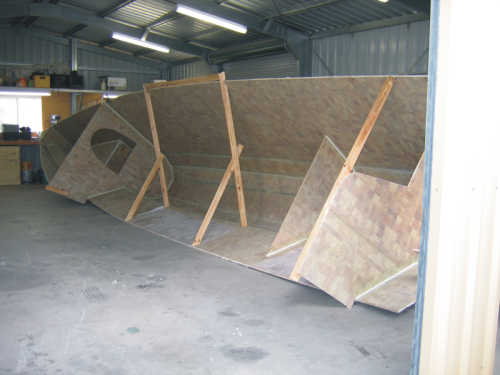
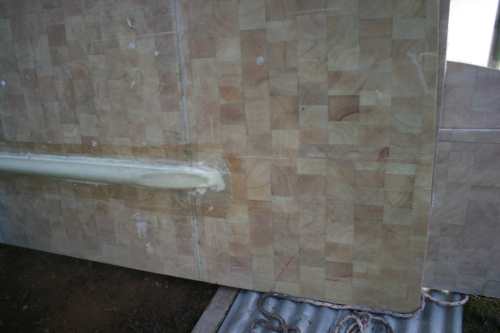
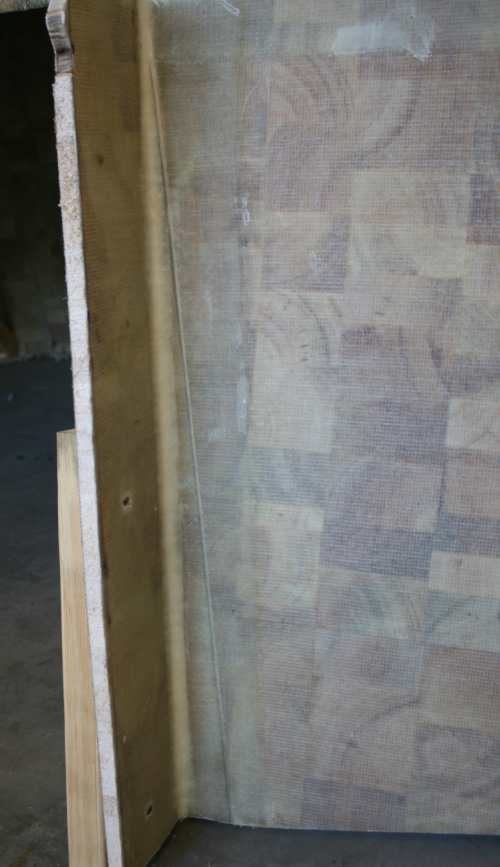
This is a view of the inverted hull
showing the join between inner sheer panel and chamfer panel.
The inner sheer panel was cut in "Facets" rather than
a smooth arc. Do not trim the panels to fit!! Just fill with
bogg. And speaking of the chamfer panel, it is very easy to get
it mounted wrong. It is nearly, but not quite, symmetrical. Another
builder had got that wrong and made more work for himself to
repair. I heard about that so really took care. Oram says he
may put a cut notch into the panel in future to identify which
side is which.
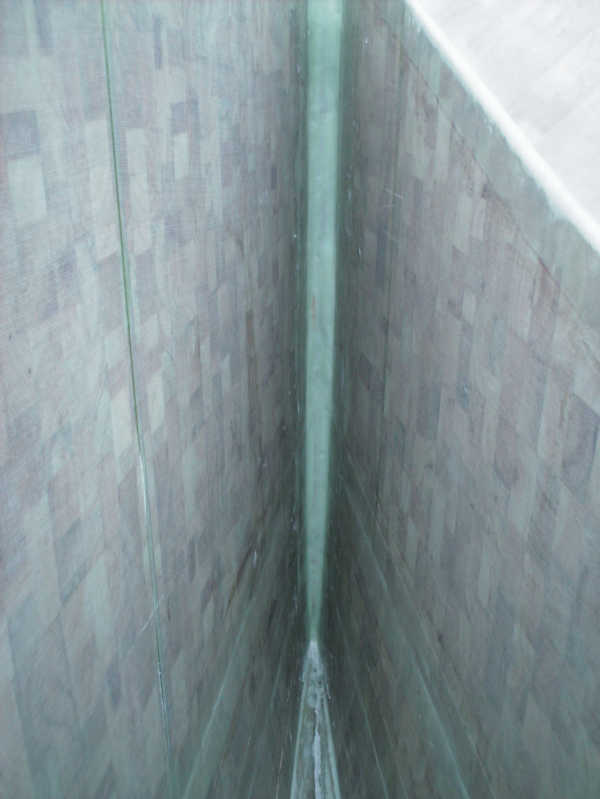
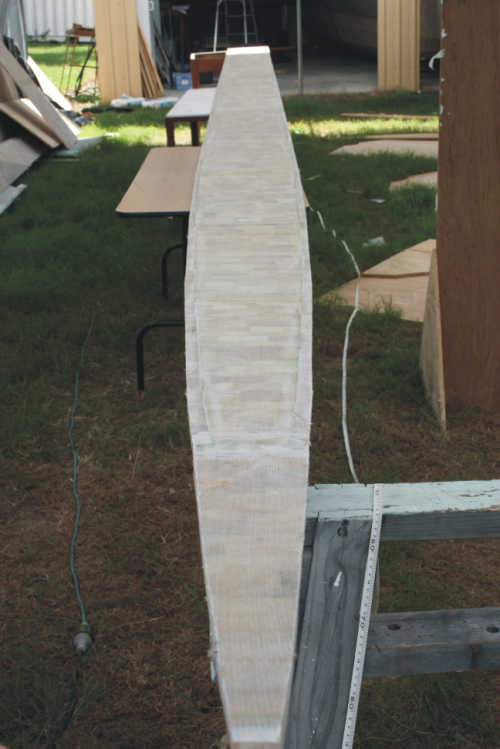
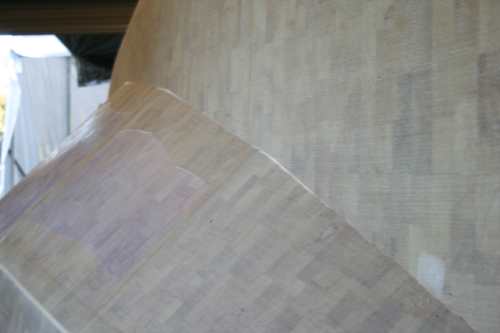
The inner hull panel is cut way off.
This one you do trim. The black line indicates the approximate
shape to begin with. I trimmed off about 20-30mm in the centre
to get it close enough to bogg. This panel again is nearly symmetrical.
The way you tell which side is up is to look at the aft end.
When the hull is up-right the end of the panel will have a slant
and you should leave the short end up. You may have to repair
that too.. see below..
This is a close up shoot of the end
of the inner hull panel where it meets the bulkhead. I had to
splice in a piece of shaped scrap to fill. It all fit under a
tape join that was to be there anyway. It should be OK like that.
So the lesson is... keep your eyes open
for problems and don't expect perfection. It is sooo much easier
to spot problems before the action rather than repair after.
The error in the keel panel was also the designers mistake. Bob offered to assist in that repair but I preferred
to do myself. He and any reasonable designer will be contactable
by phone to advise if there is a question but the fact remains,
you are building a big boat with drawings and what amounts to
a couple A 4 pages of text. I think it is more useful to look
at plans like these (anybody's) as guidance but not neccesarily
as step by step instructions.
I talked to an experienced builder and
surveyor just a day ago and he agrees emphatically, especially
on a new design it is unusual not to find a few bugs.