Back to Home Page

Back to the building log

The ATL Nightmare, How defective products set us back months... AGAIN!

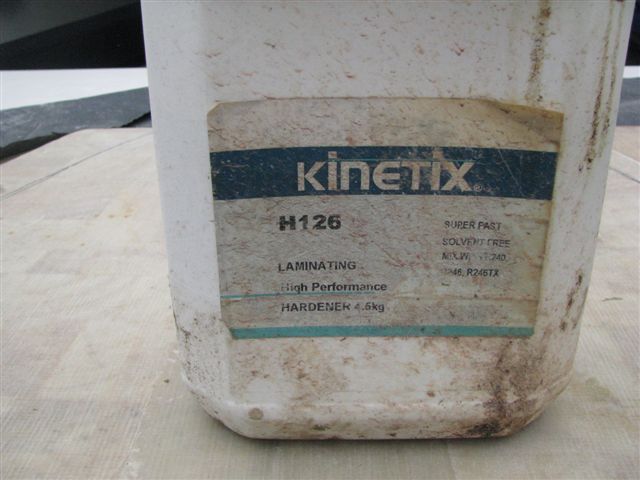
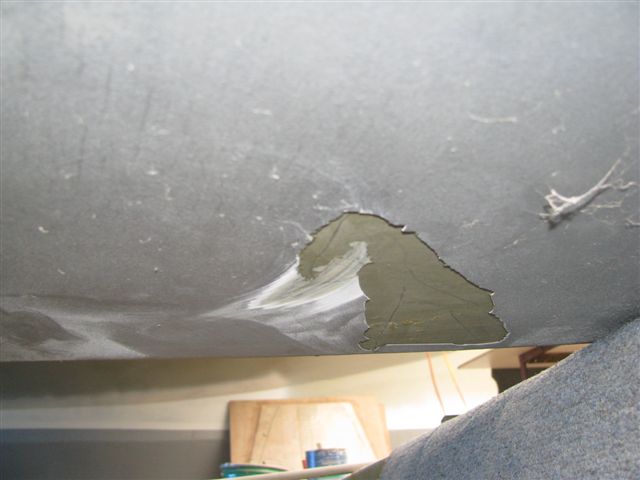
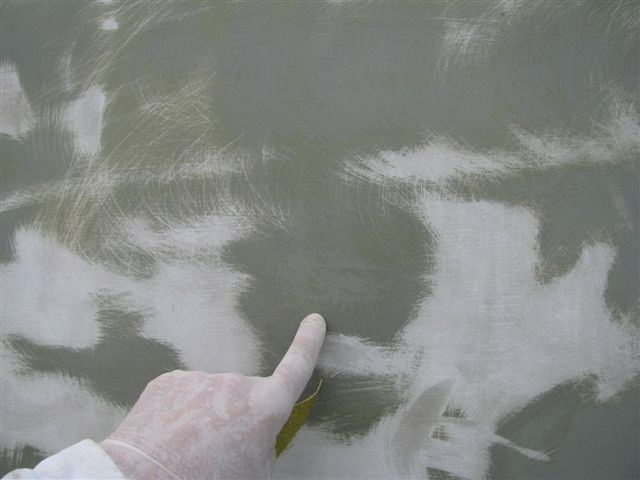
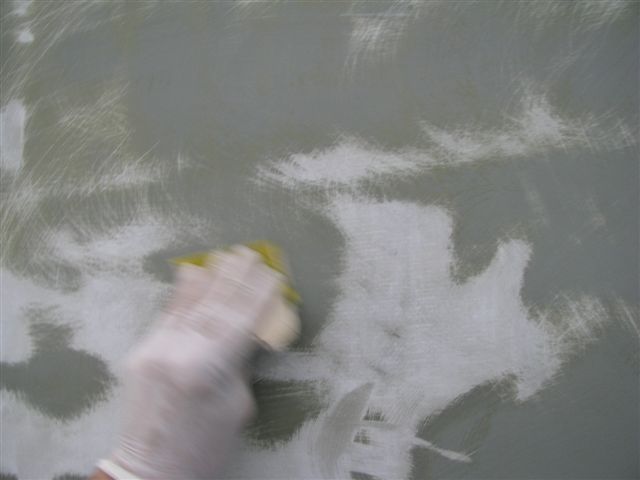
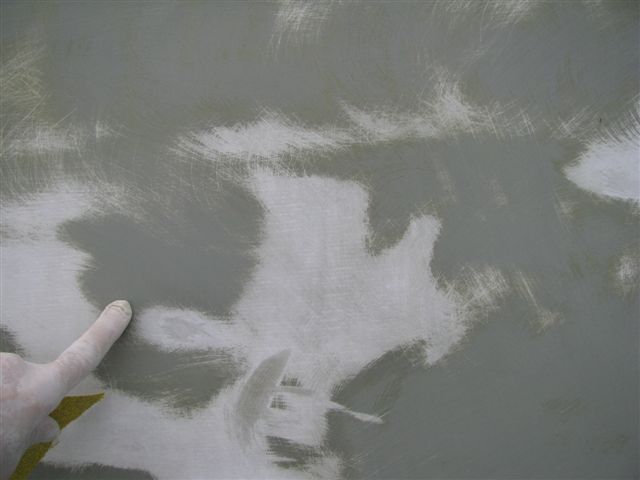
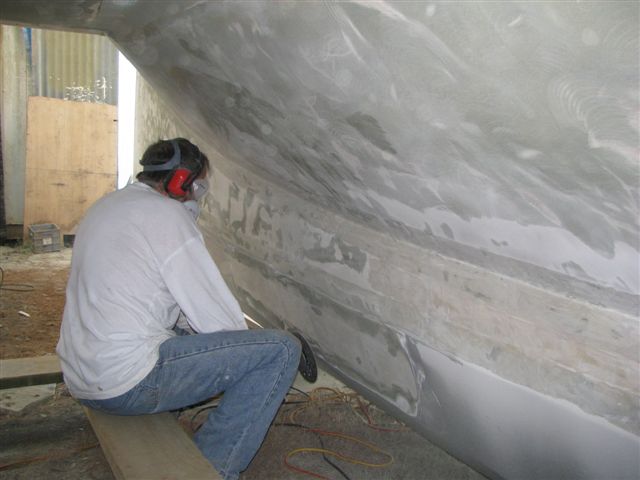
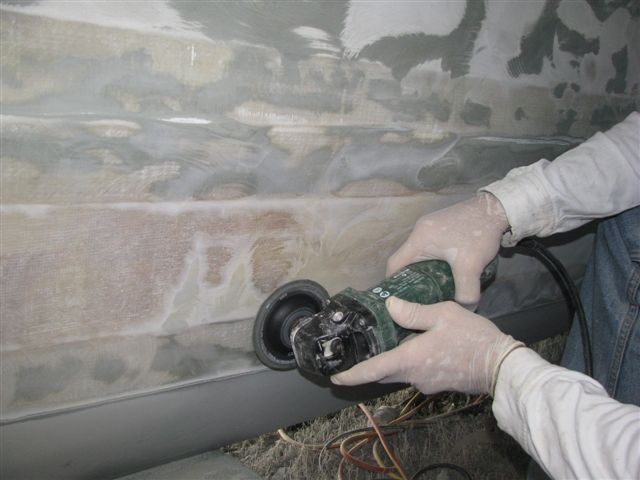
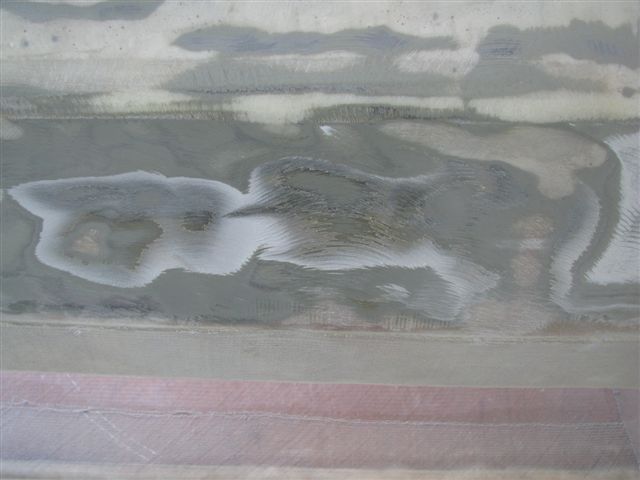
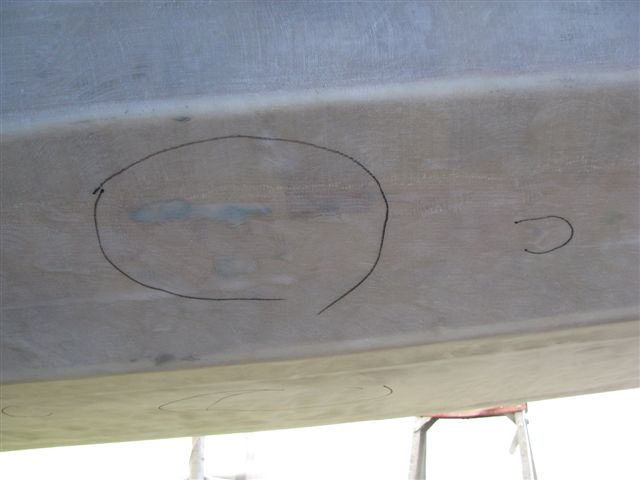
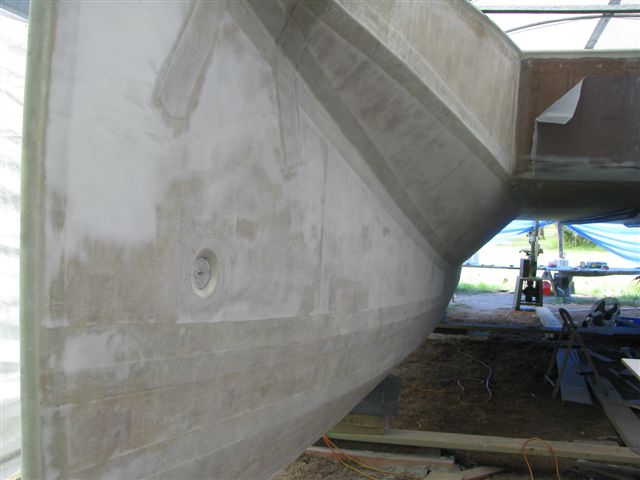
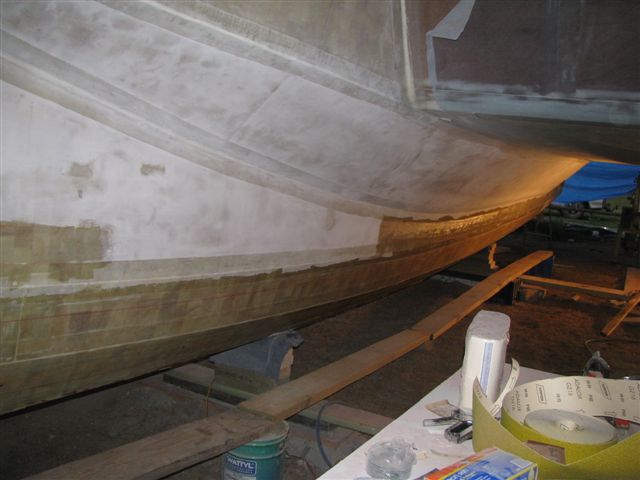
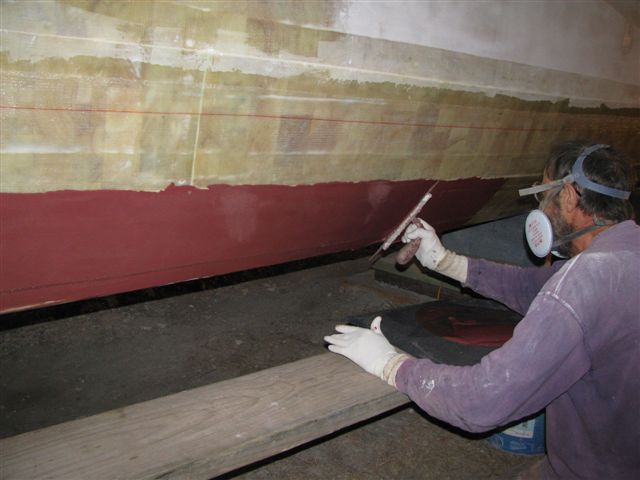
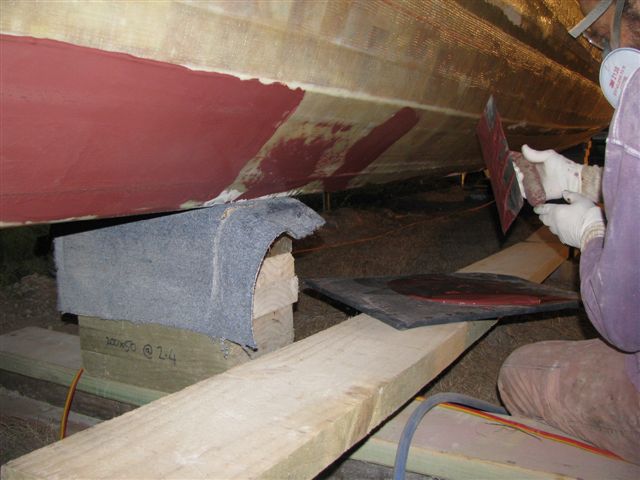
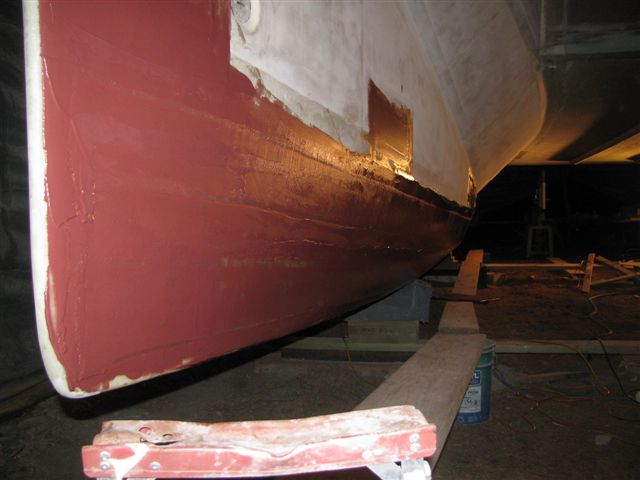
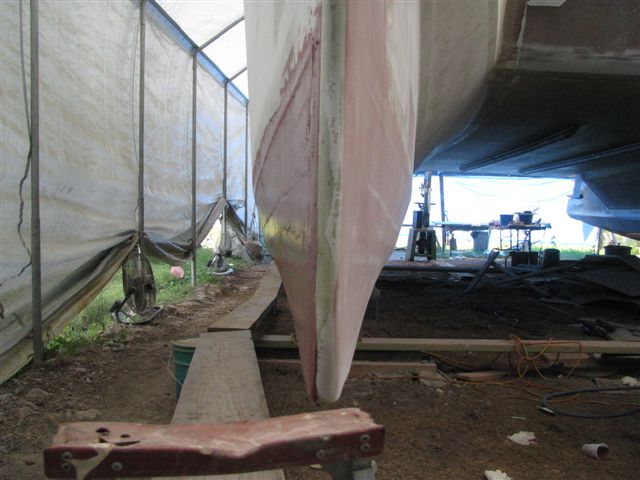
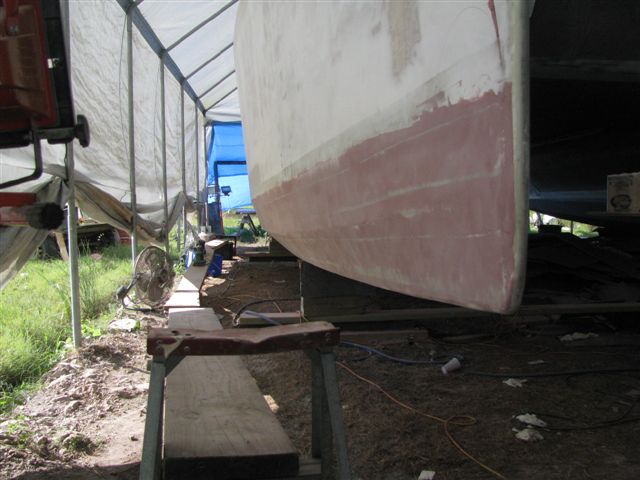
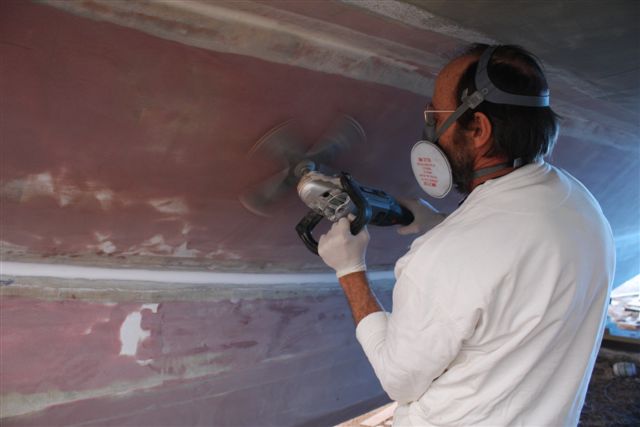
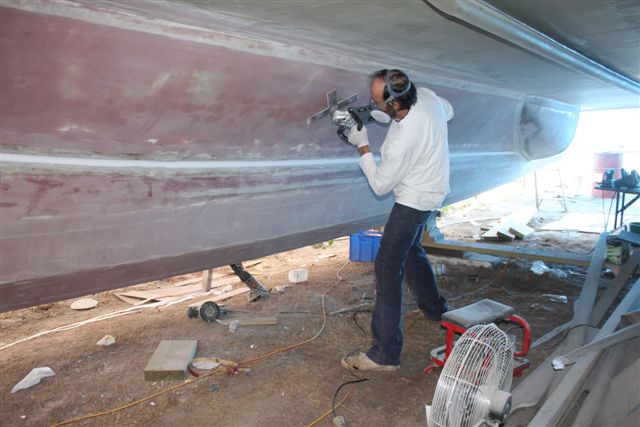
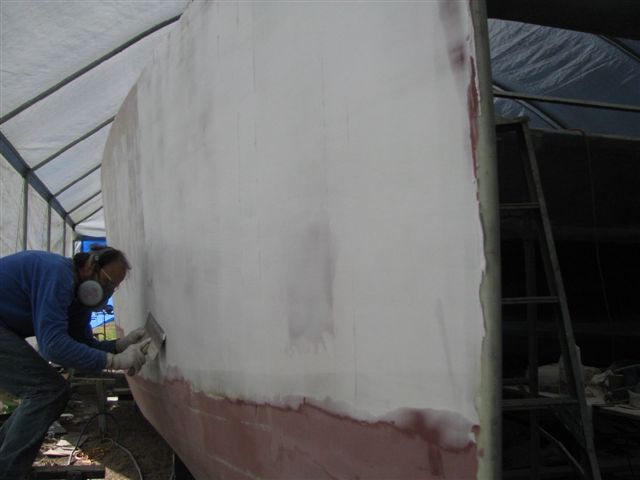
For those that think I have been a bit rough on ATL on this log, the opposite has been true. I have been kind.

But to catch you up. The machine work on the Duflex balsa core panels that I received from ATL products and was very bad. The person responsible for selling them to me had to admit they were the worst he had ever seen. A representative from the company came to see what was going on and was effusive in her sympathy and said she would present the problem to the owner. The owner allowed a $500 credit toward products. Seeing as the panels and resins cost me over $32,000 I was not impressed. I bit my lip and ordered a 24ltr batch of resin with hardener that was most of that $500 credit.

While that was going on I was also learning that the panels were not sealed as one would think panels laminated in 900 gram glass with epoxy would be. This was the cause of the outgassing issues detailed in part #6&7. What I didn't report in the log was that to save the first hull that had been faired at the wrong time of day and the bogg was covered in pores into the balsa core, I ground off all the fairing on the areas affected. I then covered the entire hull in resin. Three batches, mixed with a digital scale. Then while the resin was soft, I once again faired off the hull. All this was done at night so it would ingass. By the next morning I knew i was in trouble. The resin was still gell. I ran tests to confirm, bad hardener. This was the batch of resin I had got with the credit. I had used another type of resin for the fairing mix so it set ok but underneath it was the coating of the bad stuff. It was too soft to sand and too tough to scrape off. I put it out in the sun for over a month and it finally got hard. I sanded on the now very hard surface to key in subsequent coatings of resin and epoxy paint. I thought I had licked it........

 
   It all started whilst cutting the outside skin for mounting pad eyes for a prodder.
   The skin above in the photo was from the port side and even after twisting the skin about the paint held firm. The starboard side showed the paint was not firm.
   This was the hardener that failed.
   This is self explanatory I think.
  The yellow stuff is the failed hardener. What I found was that coatings I applied over the bad coat stuck. The adhesion failure was under the bad coating.
 
   Here is where I applied bogg over the then fresh coating of resin. You can see the yellow edge near my fingertip. Everything on top of the bad coating had to go along with it.
   I am pointing to a patch of the bad stuff. When sanding with a machine, the bad stuff will resist and when it does go through the sanding machine tears into the stuff underneath. You have to be really careful not to do damage.
   But hand sanding worked well. some surfaces require a slow speed. I learned this in gem polishing.
   So now this spot is clean of bad stuff. A lot of surface was done just this way. Hand sanding for days......
 

 But the rest of it, like these areas where the bog covered the bad layer, only a silicone carbide disc would do. All the time being careful not to tear through tape joins.


These discs are intended to use on concrete.

   After the silicone carbide I used a sanding disc. This is a conventional 36 grit disc.
  I had better luck with these blue discs, 60 grit. These are the best.
  The work I had to do on my back was the worst. To help i used the plastic corners of a vinegar bottle to seal the sides of my glasses. This really worked very well.
   This is what I looked like after a few minutes underneath.
   This photo clearly shows the demarcation of layers on the hull.
   Some parts of the keel panel I did with an air chisel. Just peeled the paint back. But still had to sand underneath.
   After I thought I was long done, traces of the bad layer would appear in this funny blue-ish colour patch. Like oxidation. They all had to be sanded back by hand.
   Until finally the day came to start reconstruction.
 

 First start laying out materials. I used some 450 db tape 1650mm wide(7"). That fit between the joints with some overlap which was OK with me. More fairing work but more strength on the joints.


Note the time.

   The tape has been installed and ready to start fairing work. I wanted this to go wet on wet. I waited until the tape was just firm but still tacky. I didn't want the fairing work to disturb the tape.
   It is now night and working hard. I used phenolic micro balloons. Good stuff and works well but different.
   Note from what you see on the hod, very loose mix relative to other fillers.
   That will do for this evening. Tomorrow I will sand it back and set up the next nights work. Who said this was going to be easy?
   The morning two days later. Ready to sand the other side.
   Later that day....
 

 I did work in patches to reduce the pain of effort. Working at this angle in cramped areas like this will wear you out very quick. The tool I'm using made this part go far easier and with a better result than any other alternative.


this was done a month after the previous steps. I was happy to break up the work as i went on other projects like the motor pods.

   After using this tool I went directly to paint.
 

 And finally back to where I started 2 years ago.

It is amazing how much easier this kind of work is with the hulls inverted.


 copyright 2009-2015 The Coastal Passage