|
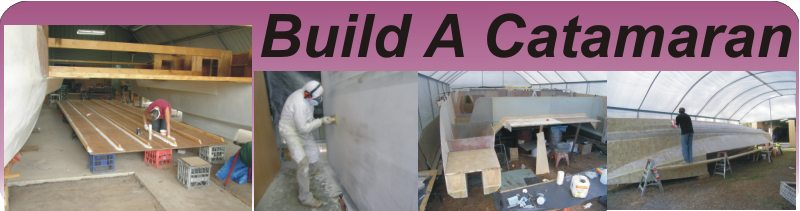
Whilst waiting for the shoulder injury
to subside, I had a chance to work on my tools and organise everything..
I mean everything.. I had my pencils lined up by length..
To help readers catch up, one hull was
a real mess due to a bad batch of hardener
after dealing with extreme outgassing
of the composite After spending a month in the sun to cure the
resin and in the moving process, the surface on the hull was
as tough as it was rough and I wanted to remove as much of it
as possible and re-coat the bogg. I was also very concerned with
the fair. The kind of grinding I was doing was an invitation
to a poor surface.
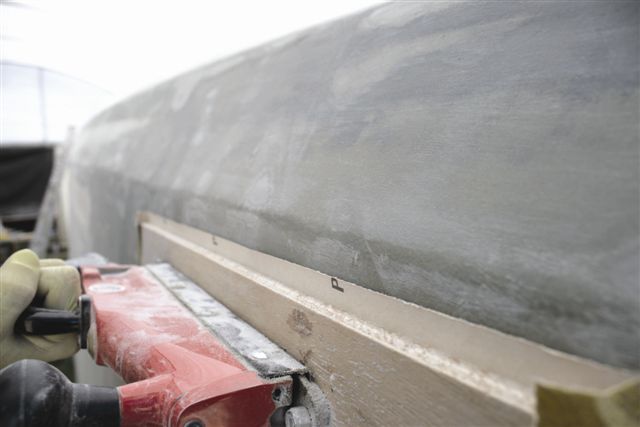
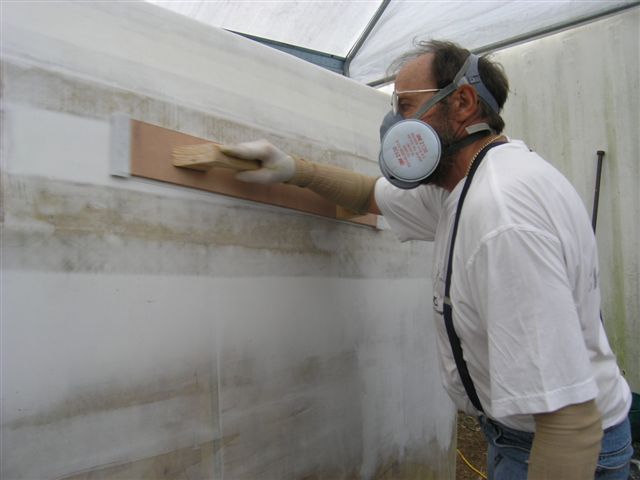
To attack the job I found a cheap and controllable sander/polisher.
This, armed with a disc of #36 sandpaper would actually cut through
the stuff but controlling the thing is shoulder work.... After
that I used my modified inline air sander.. which did a fine
job of taking off the high spots in preparation for a scrim coat
of bogg that would seal the pits from outgassing and give a smooth
and fair substrate for further work.
An important note about the outgassing.. if you are building
a boat with ply, or particularly balsa core panels, and are having
problems with pits in your bogg or high build surface that seem
hard to fill, you better look at the TCP web site!! If you are
applying bogg or any resin to the surfaces and you aren’t
doing it at night or late in the day, you may be compromising
the future of your boat.
But back to the sander, these cheap air tools have a massive
potential but some limitations. Modified as described herein,
it does the job of a torture board but with less side to side,
arm and shoulder movement. To use this tool you need a powerful
air compressor. Mine is 13.5 CFM which allows me to use the tool
for a short period of time, say 5-10 minutes, before it runs
a little low and then I swap to another type of tool, like my
Rupes planetary orbital, to go over the area just worked by the
inline air sander, with a finer grit, until the compressor builds
more pressure. I have been using 60 grit on the air tool. Another
problem it had was spitting oil all over the job which is bad
news working with fibreglass. Any oil left on the surface will
prevent adhesion of resin or paint. I got around that. The air
sander has two pistons on either end of the body. They are covered
with caps using allen head screws. I removed them and wiped out
the oil that comes from the factory and swabbed on a light coat
of grease. I also unscrewed that big brass plug on top and did
the same. Regrease after about every 8-12 hours of use. I also
provided extra hose between the air compressor tank and regulator
to allow cooling and thus prevent some condensed moisture from
reaching the tool.
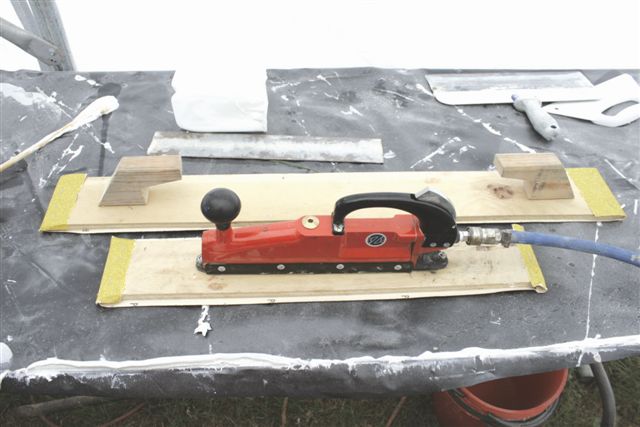
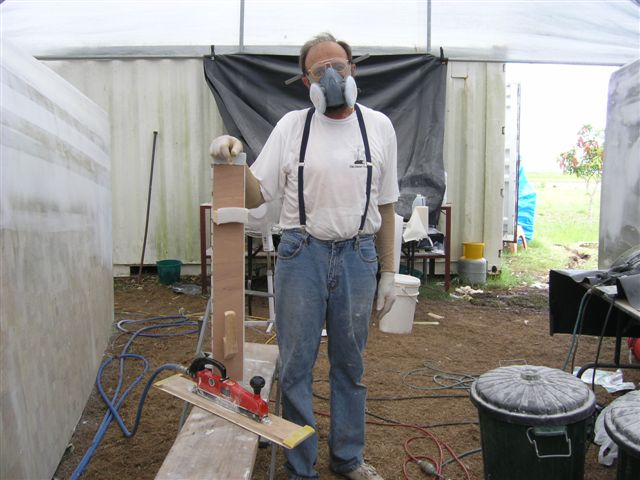
Another shortcoming was the sanding pad. It was too small and
with a rubber pad. I cut a piece of FLAT12mm ply, 600 X 100,
drilled two holes for mounting the screws and stuck it on. I
did have to supply two longer 1/4 inch screws. I staple the sandpaper
on just like my torture board and without the rubber pad the
board makes a very flat, true surface.
Since modification the sander works better, faster and I haven’t
had a drop of oil on my work since I converted to grease. It
really is a time and muscle saver. |
 |
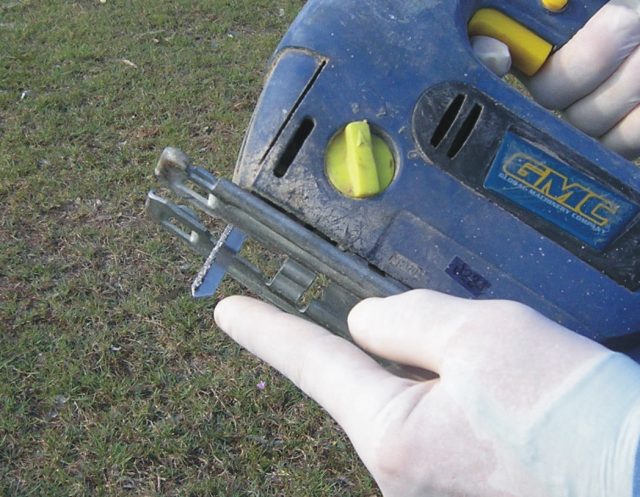
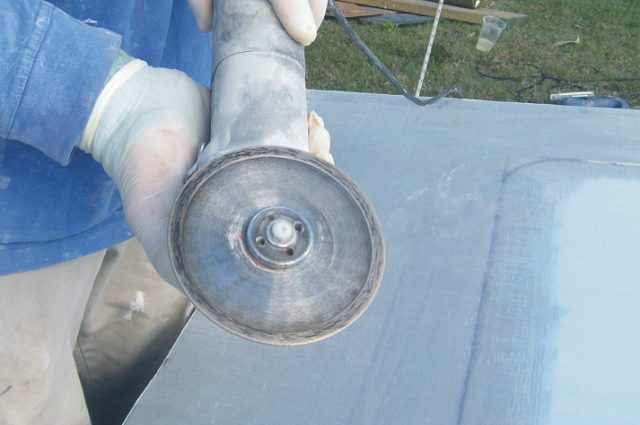
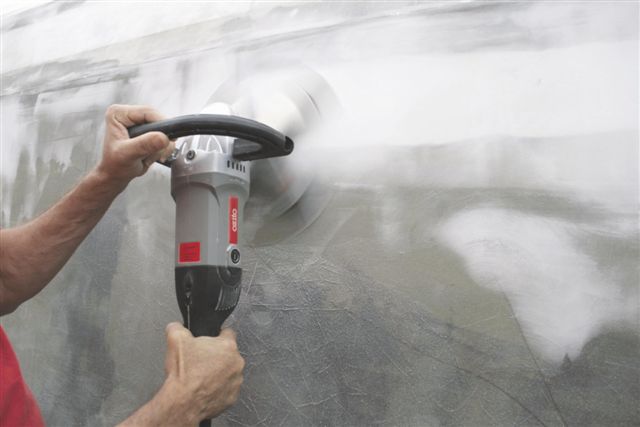
Aluminium Split Sander
I was shown a plastic sanding gadget at
the local boat yard that seemed interesting but fragile. It had
been repaired already. The idea is one I am familiar with as
a jeweller. A “split lap” is used to polish jewellery
where seeing what you are doing as you are doing it is important.
So I fabricated one in more durable, high tensile aluminium,
applied some 80 grit on velcro and gave it a try mounted on my
new $99 sander/polisher. Works a treat!! It covers a large area
fast, you can see every detail through it whilst working and
the size of it helps keep a fair surface.
I think this tool will be most valuable when preparing bogg for
paint and in finishing high build to prep for top coat. |
 |
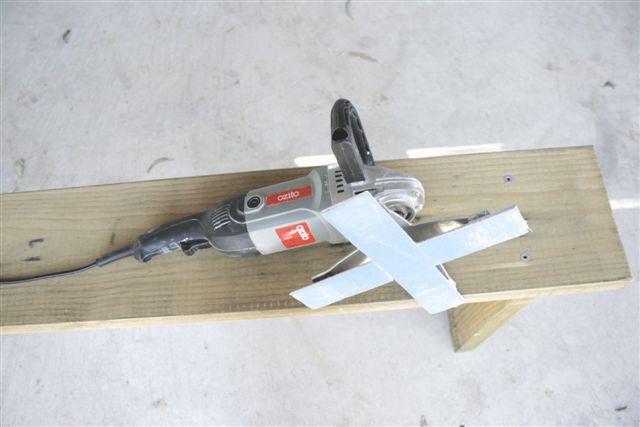
A mate tried out my first attempt
and it seemed OK to him except he found it would dig in on a
slight concave surface, leaving “smiley faces” on the
high sides. I believe I have fixed that problem by installing
a foam surface to the ‘wings’ that will ‘give’
just enough. I may even try a larger version, perhaps twice the
diameter and powered by an air tool. For $40 in materials and
an hour to build, I am very satisfied with it.
Sanding is the biggest, high labour part of the job and the easiest
to screw up. Having equipment that will speed up the process
and increase control is invaluable. I will mount more detail
on the web site about the construction of Split Sander. It measures
300mm/1 foot diameter. The 1500 watt polisher is from Bunning’s
and so far it has been excellent. It has an amazing speed control.
Here are
instructions for making your own. |